It was a lazy weekend morning to many, but the thought of wondering what kind of air filter the E90 320i is having, simply kept me awake all night and I couldn't wait for the first ray of sunlight so I can rush down to my porch to have an early date with my E90.. :D Is it CONICAL? .. or CYLINDRICAL? .. or just FLAT.. :p
Here goes..
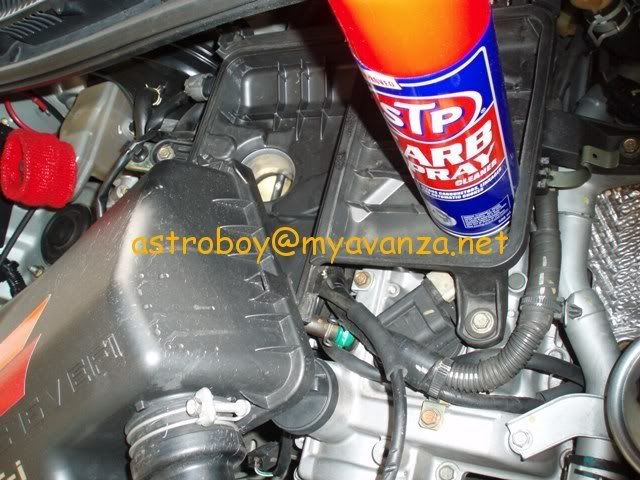
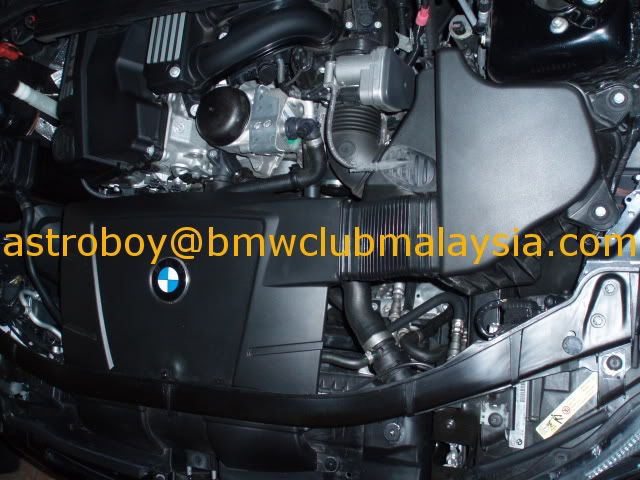
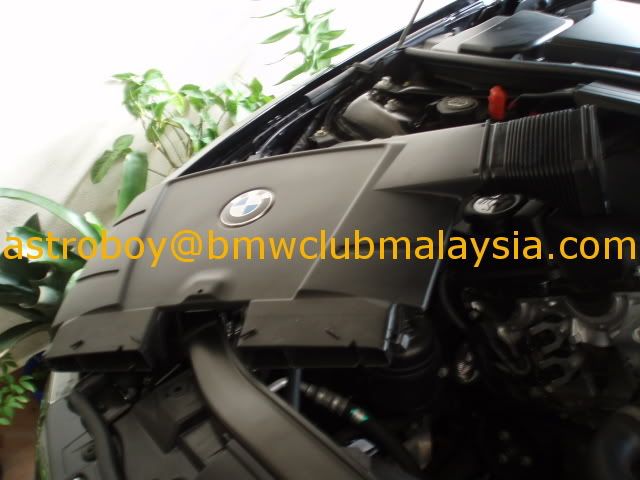
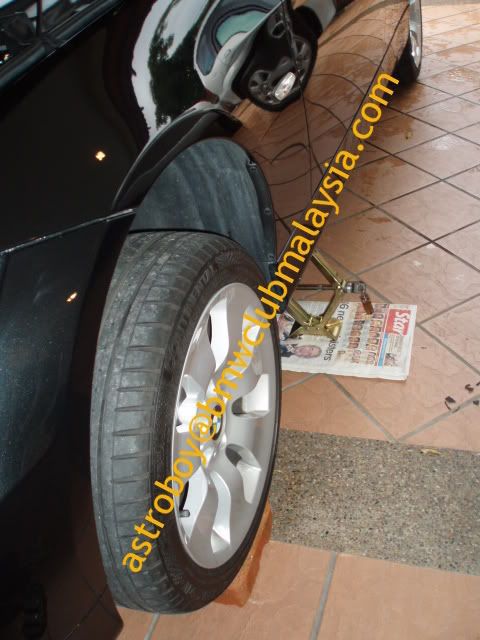
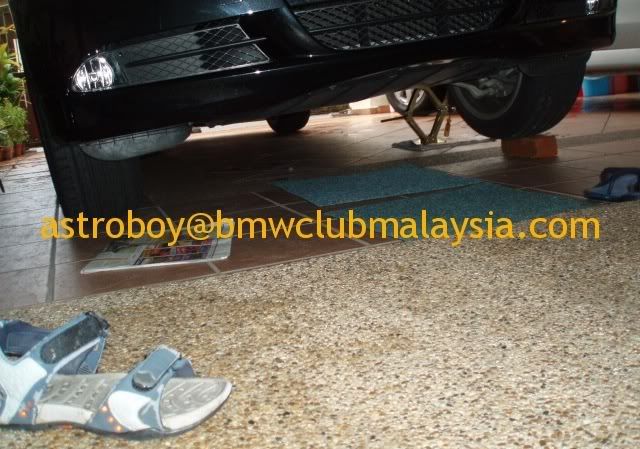
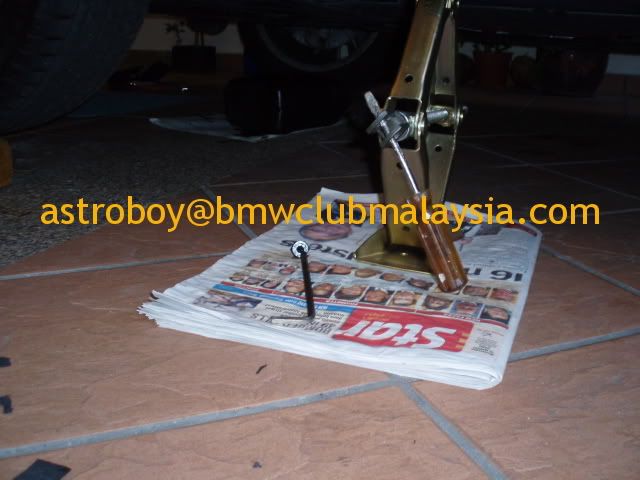
A cool morning engine.. which is half asleep and I am already all cite up to “undress” her.. :p

2 size 10mm screws at the right of the AF box to be first unscrewed..

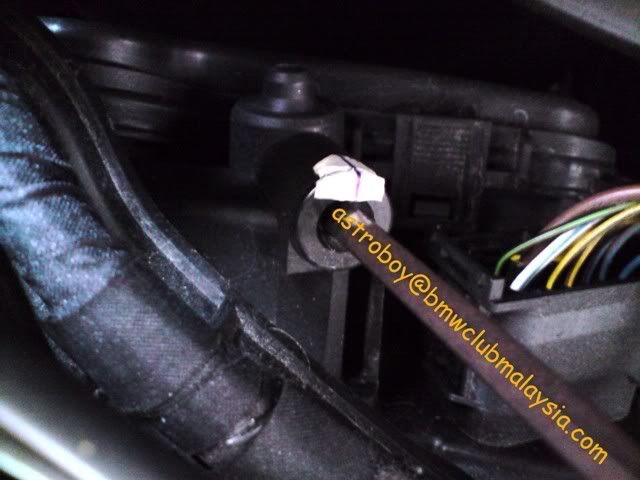
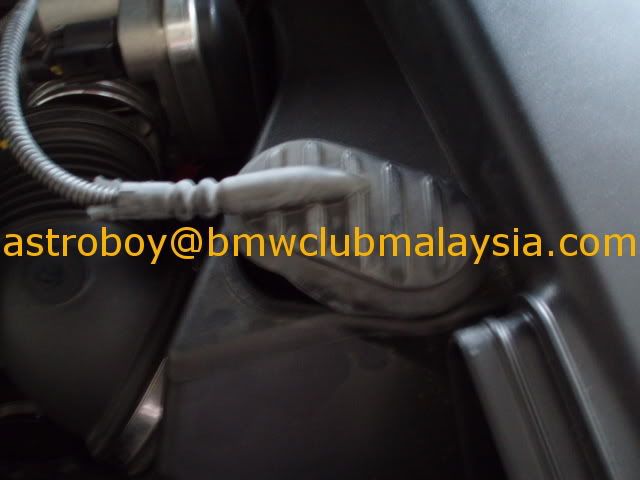
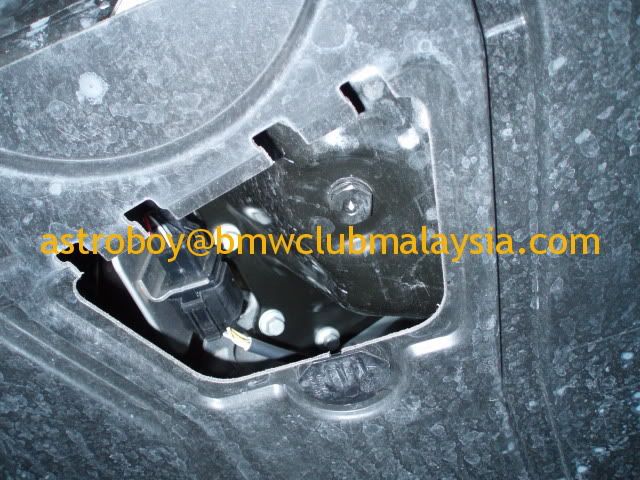
Remove the Air Flow Sensor lead rubber boot plug..

Lift up the plug and u will see the leads and the socket. Must unplug the socket before we proceed.. tiny wires.. be extra careful not to injure the wires..

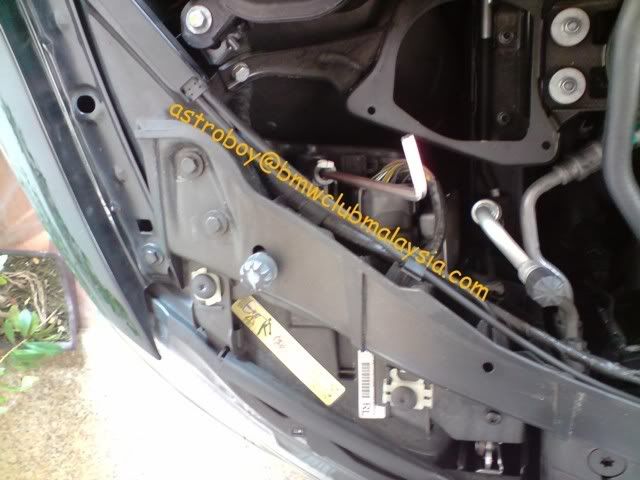
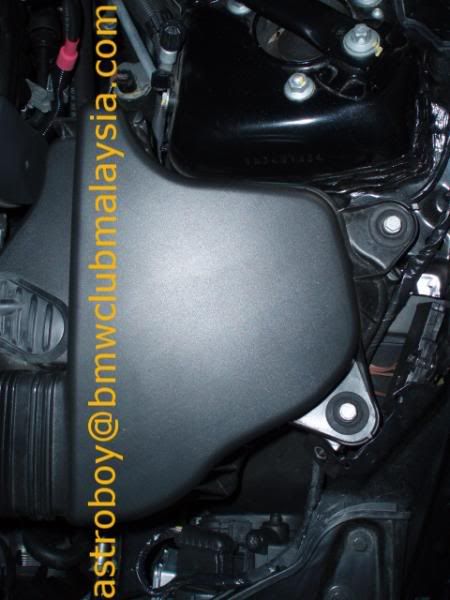
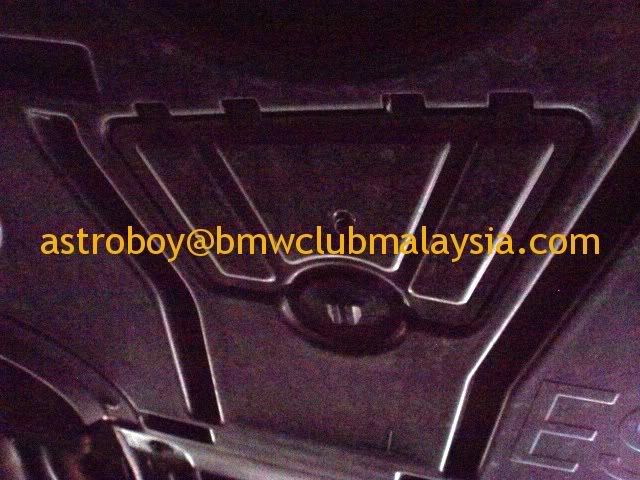
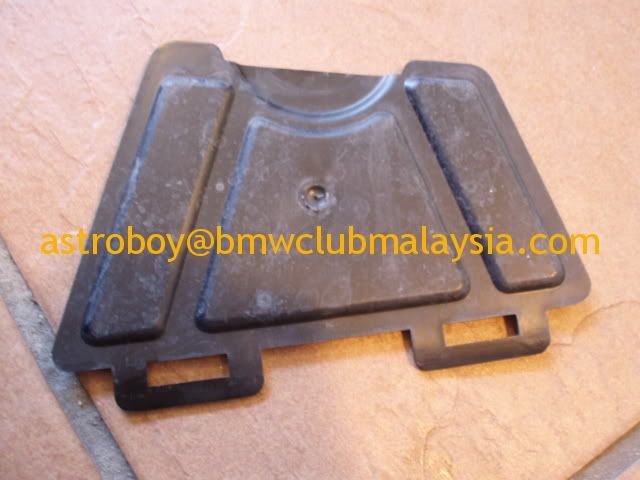
Unplug the following AF buffer box.. (I initially thought that’s just an ornamental cover with a roundel.. :p) must unscrew 3 tiny Torx screws which hang the box to the upper plastic cross-member beam..

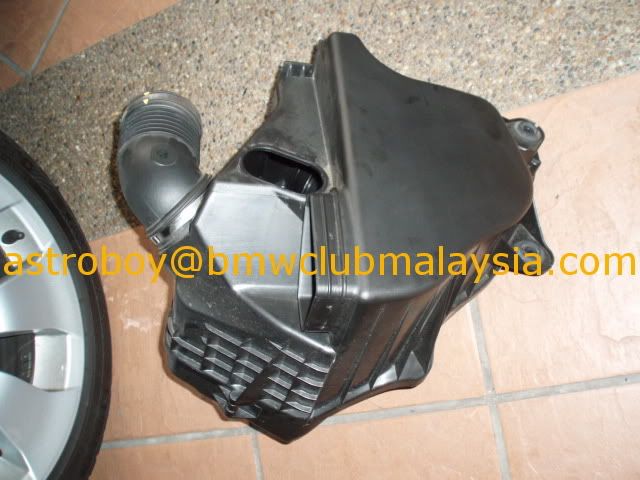
Loosen the hose clip connected to the throttle body inlet, unplug and lift the AF box… Voila!… its out of the E90 lio.. :D

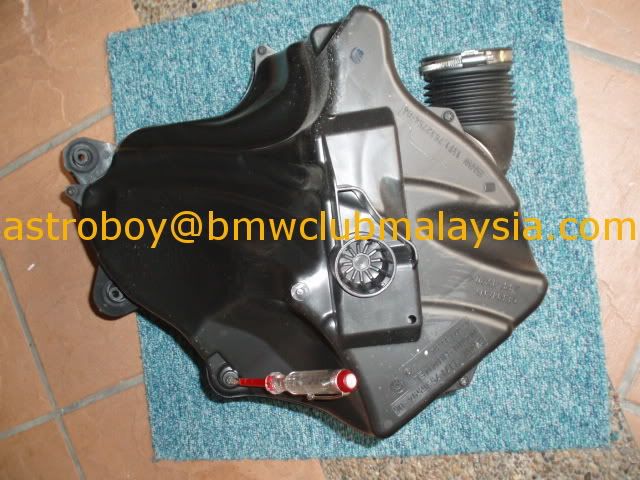
Flip the box over and you will notice there are few Torx screw fastening the box together.. 5 of them… if not mistaken.. :rolleyes:

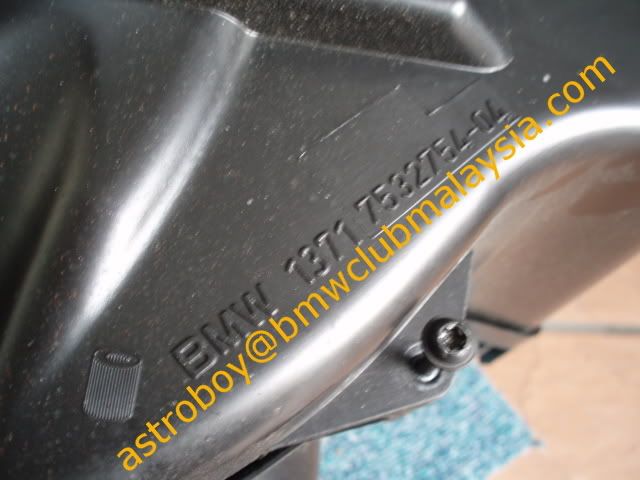
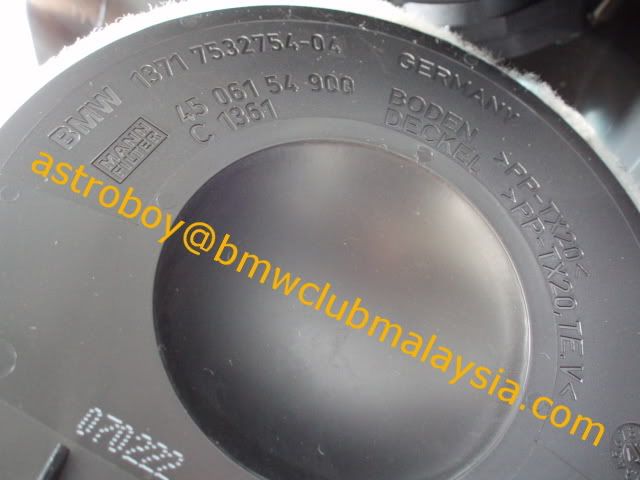
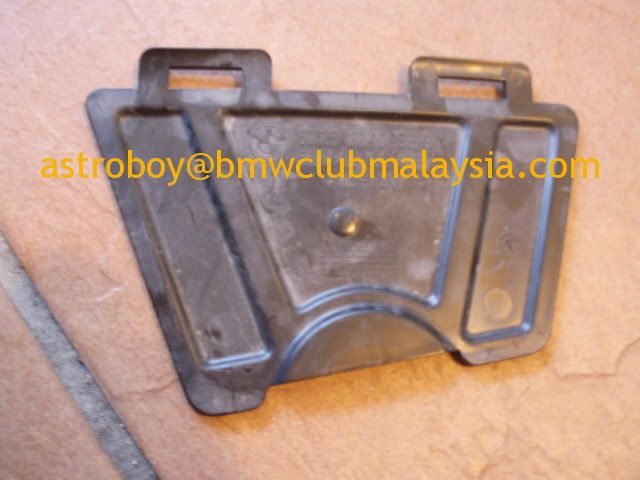
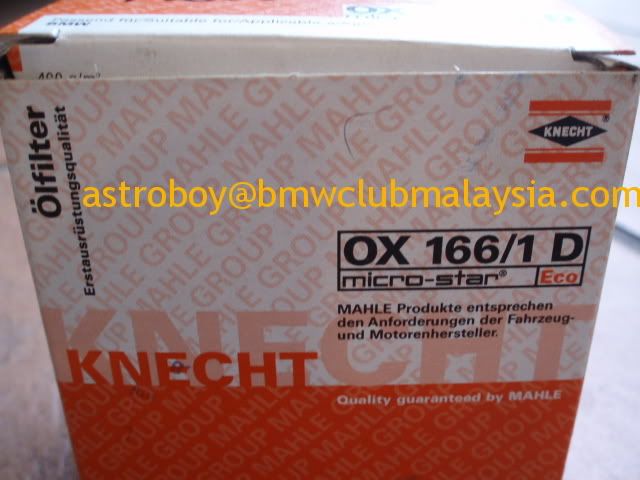
I think this is the BMW OEM code for the replacement filter element..

After unscrewing the 5 Torx screws fastening the AF box, just rip the box open like open a Durian.. :p …the 5 Torx screws are design to remain stuck on one side of the box.. so don’t waste time figuring out how to remove them… they won’t.. :D

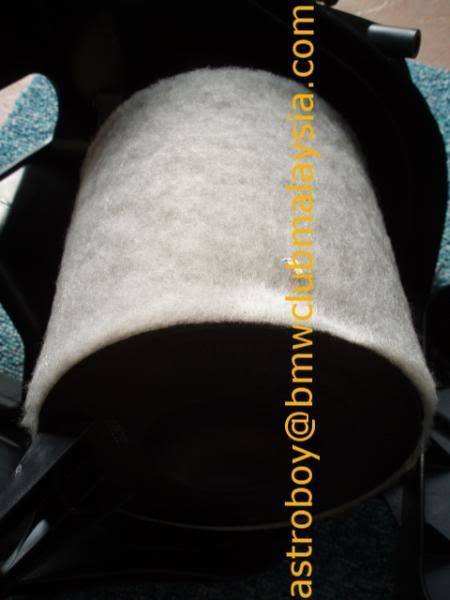
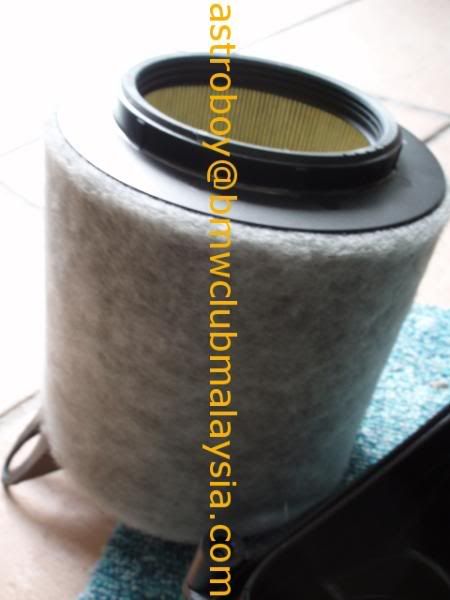
This is what I’m looking for.. looks like a synthetic element like the HKS element… minus the oil.. :p

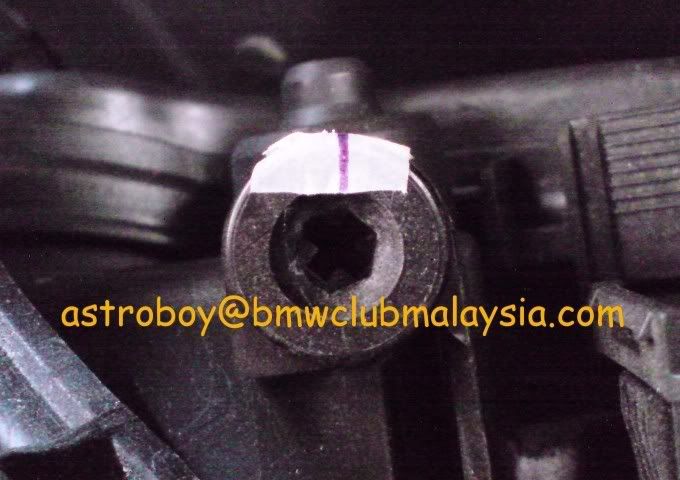
This is the neck of the element.. the air flow sensor is just next to it..

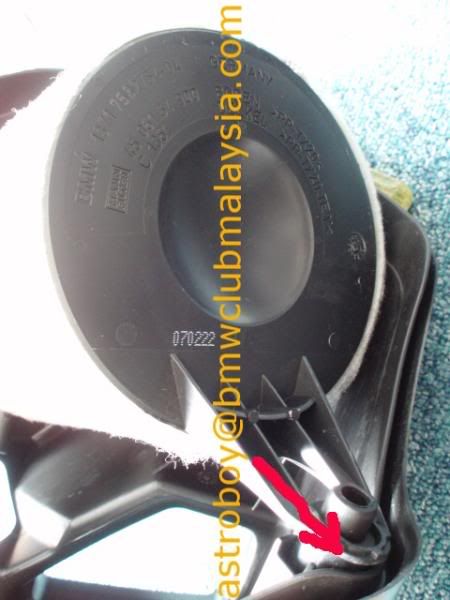
This is the other end… can slide the element out…look at my
RED arrow..


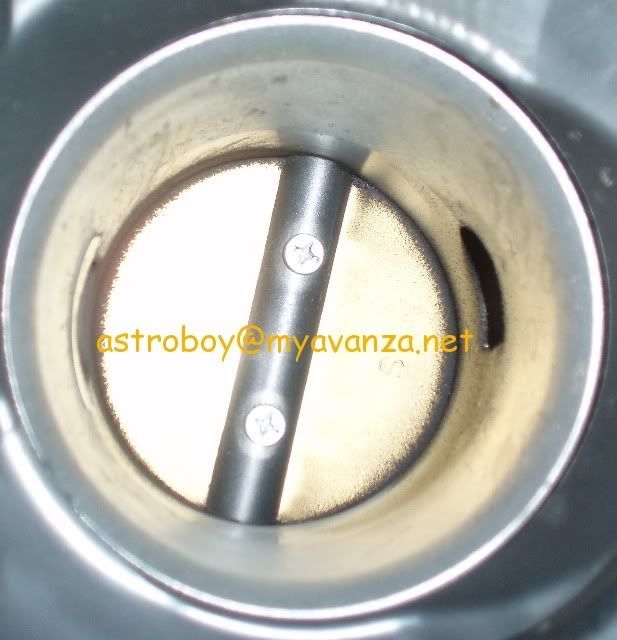
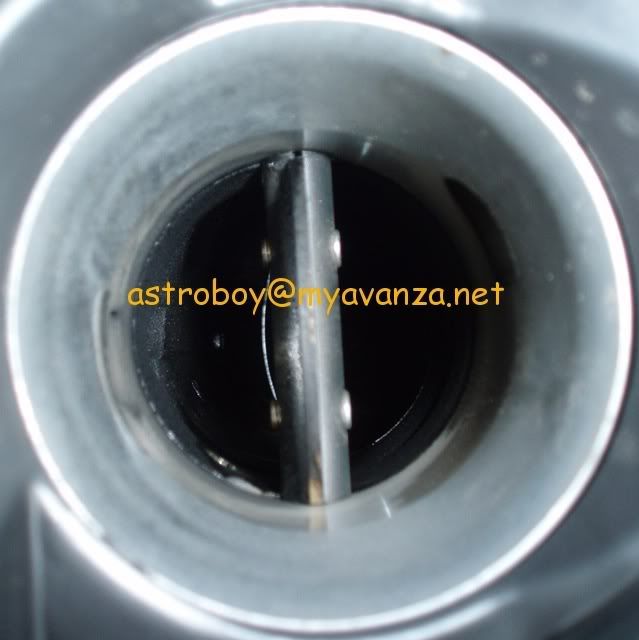
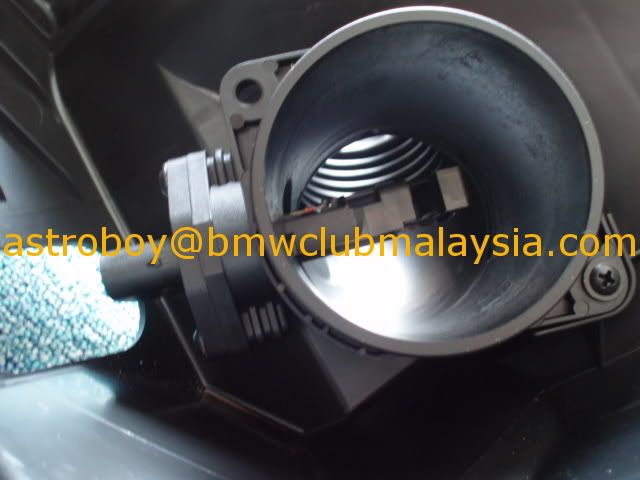
With the element lifted off, the air flow sensor is instantly revealed.. be careful not to damage this delicate and vital “organ”.. don’t even think about touching it!! :D If I must find a descriptive word for it, the word would be “G-Spot”.. :D

Close up on the G-Spot.. :D

Macro shot.. :D … or rather MICRO.. :rolleyes:

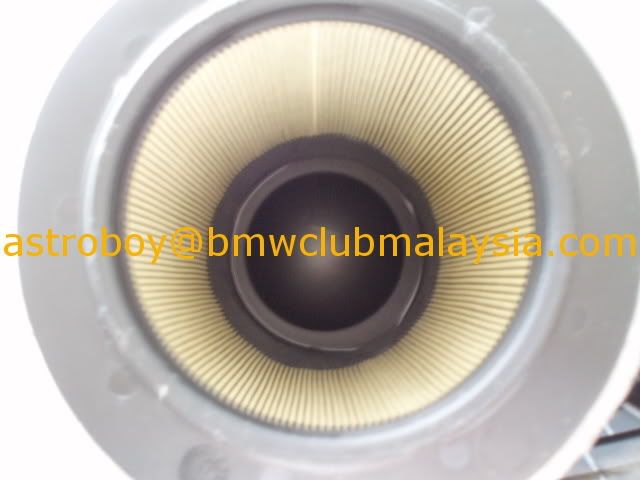
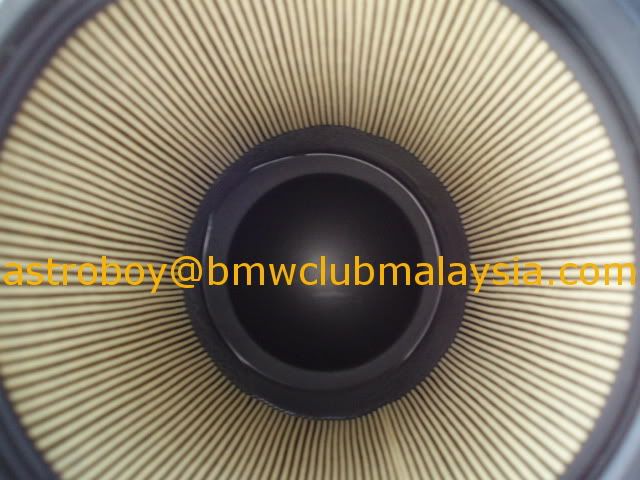
Take a peep inside the element..

Close-up… amazing sight!

Tons of codes on the element..

See…. It’s a CYLINDRICAL shape.. :p


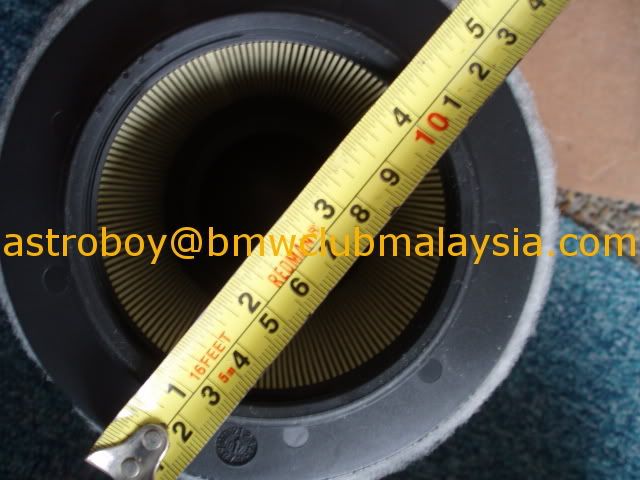
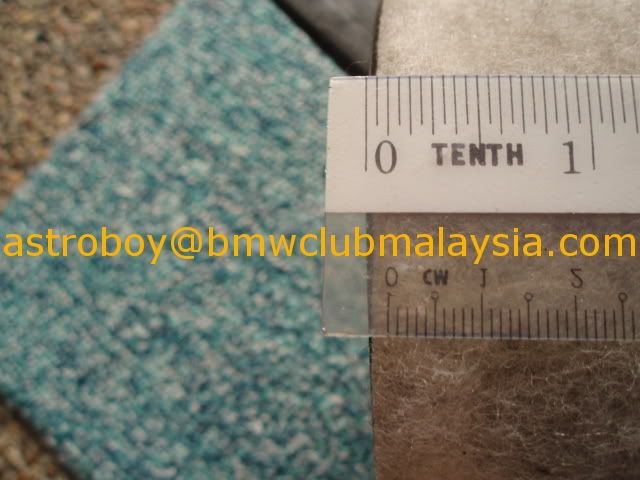
Let’s do some measurement.. in inches.. :D

A little over 5 inches in overall diameter..

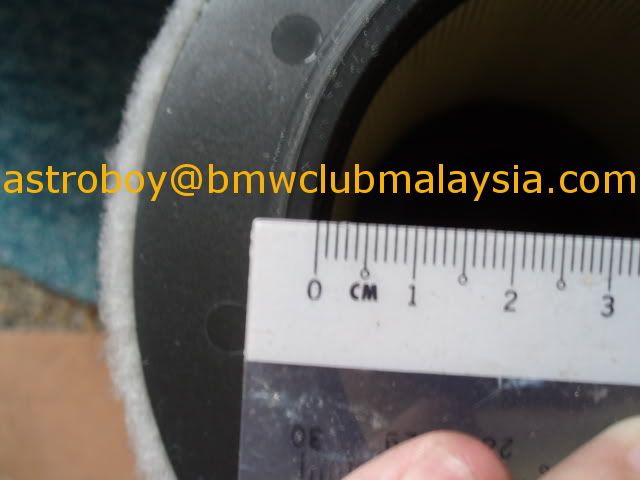
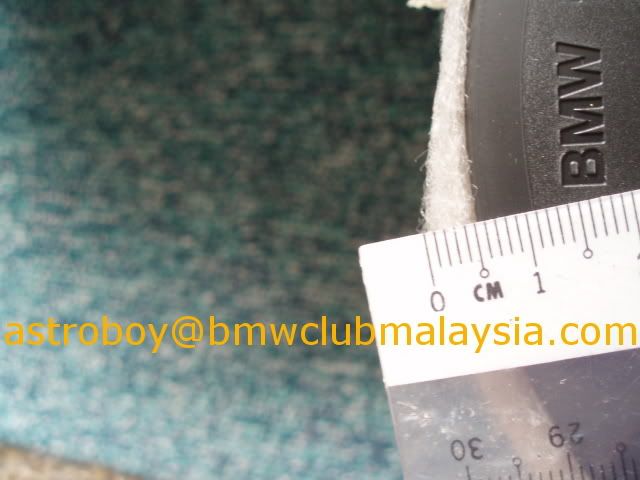
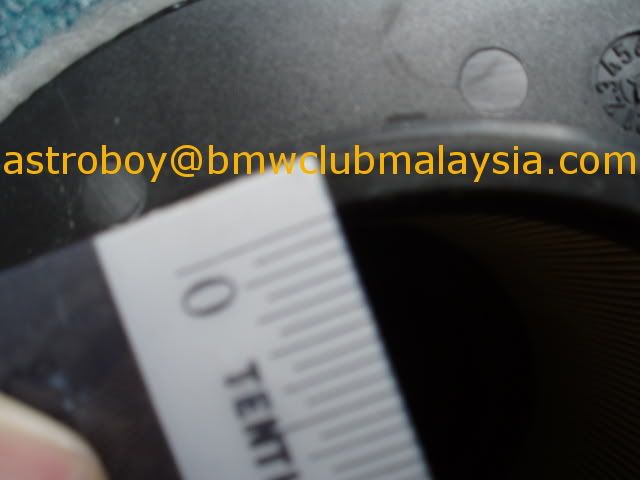
Now in Metric..

8 mm inner diameter… that will be the measurement I need to look for a matching open port K&N.. :D

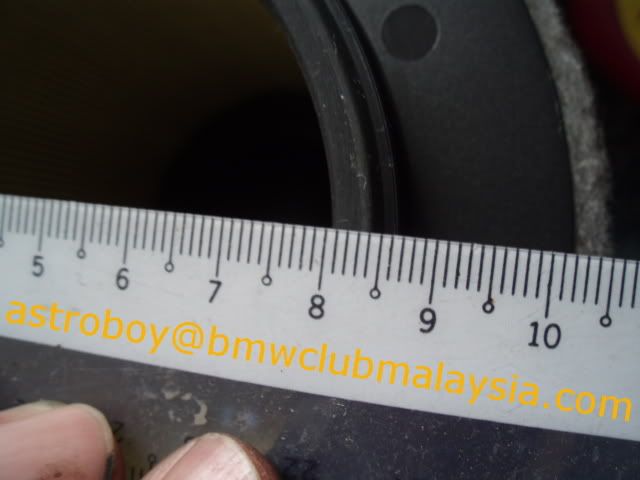
Now the outer diameter in Metric..

A little short of 14mm..

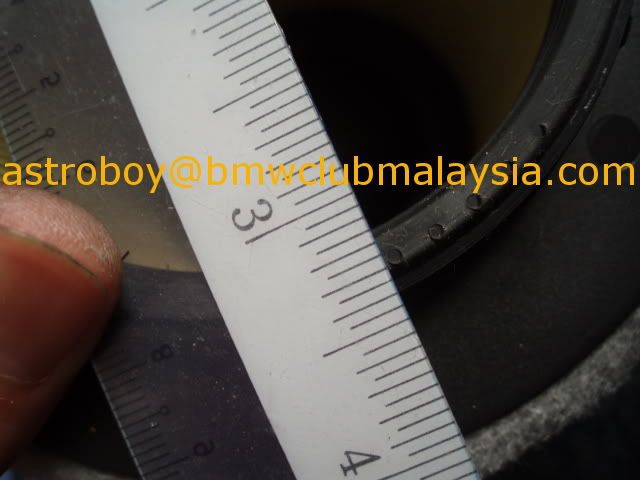
Inner diameter in inches..

A little over 3 inches..

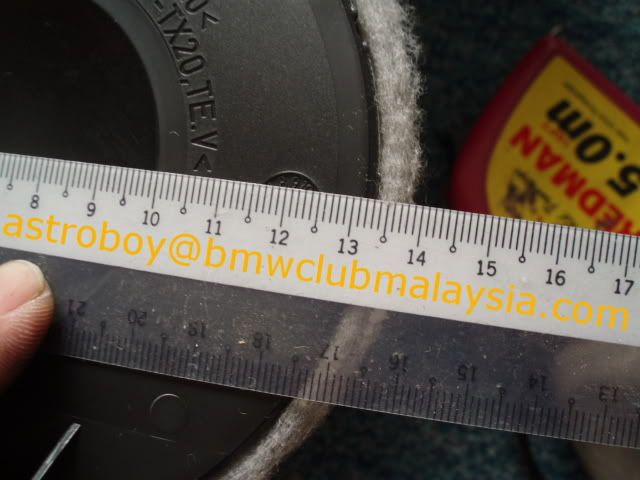
Now the height.. read the measurement yourself.. :D

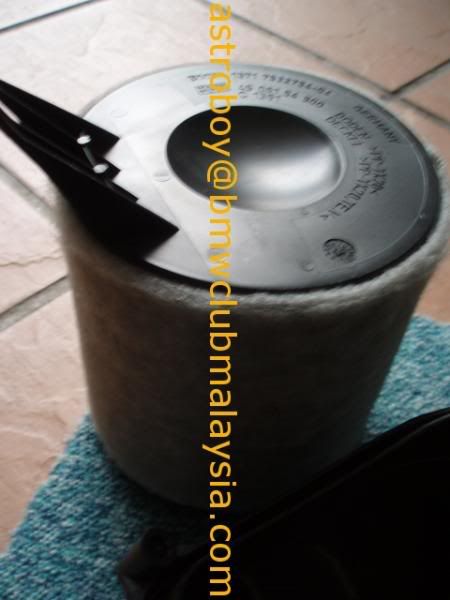
With the cylindrical element lying down..


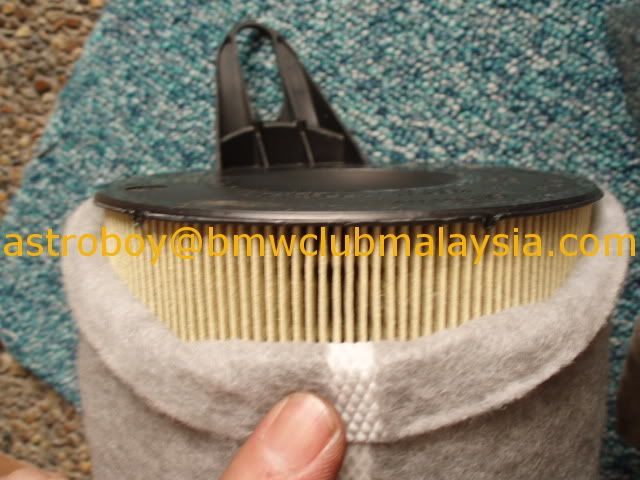
Check this out… the outer synthetic wool layer is wrap on like a sarong kaki !!!! :eek:

We can actually change “SOCK” !!! :eek: which keep the actual element clean.. :eek:

That’s all folks!
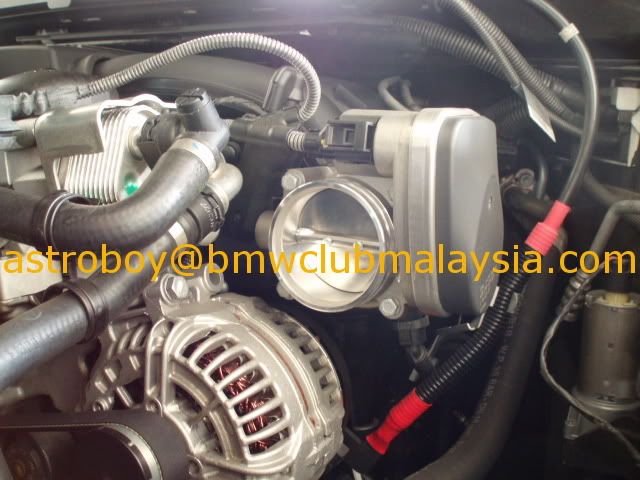
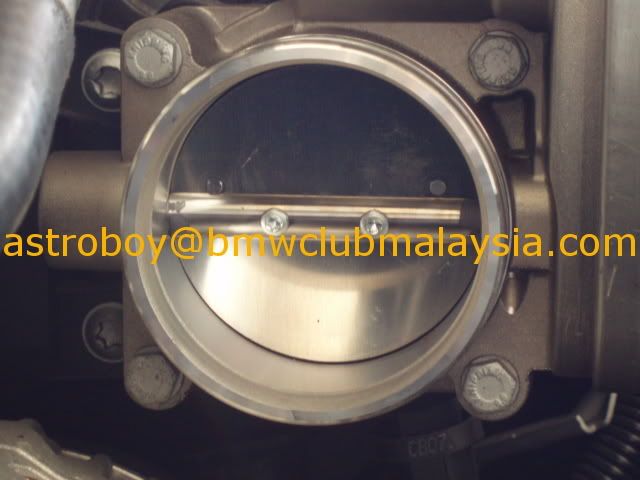
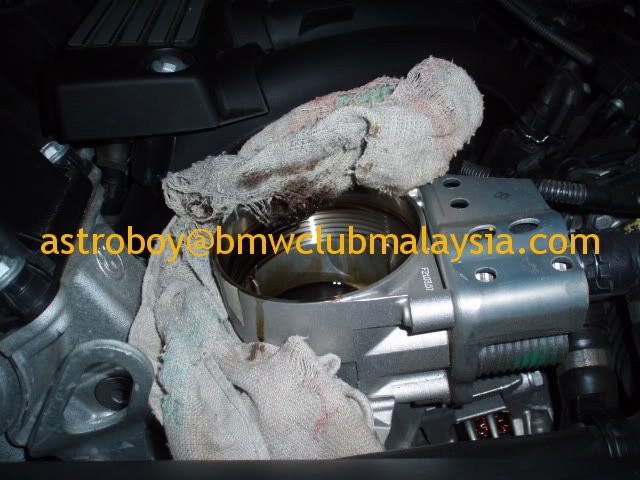
Took this opportunity to take a photo of the throttle..


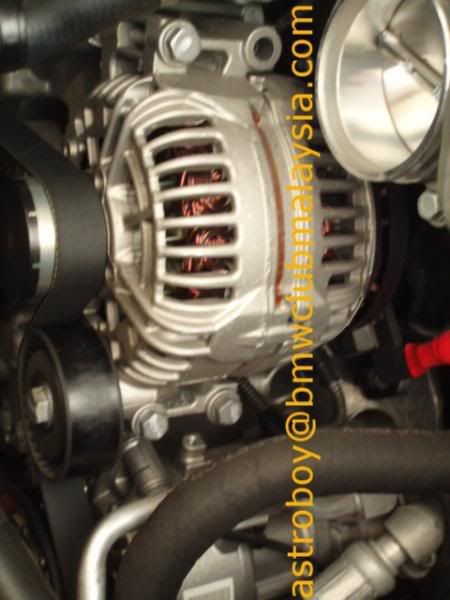
Not forgetting.. the alternator..

No oil stain found over this side of the engine.. what a relief!!
ConclusionSince the element is protected by a layer of synthetic wool.. I reckon it keeps the air flow very clean (double layer mah!) and keep the combustion chamber extremely clean..
By just removing the wool, I believe we will experience instant performance improvement… if straight away put K&N.. Wow! I cannot imagine how much performance gain we will get.. and it’s a definite gain for sure!!
Anyway… I’m not in a hurry to swap the OEM element out.. kind of admire the OEM technology though.. again I stress.. u will never see JDM filter element wearing socks.. :p UDM rocks!! :rock:
Oh well! I will be looking forward to wash my "socks" once every few months.. :D