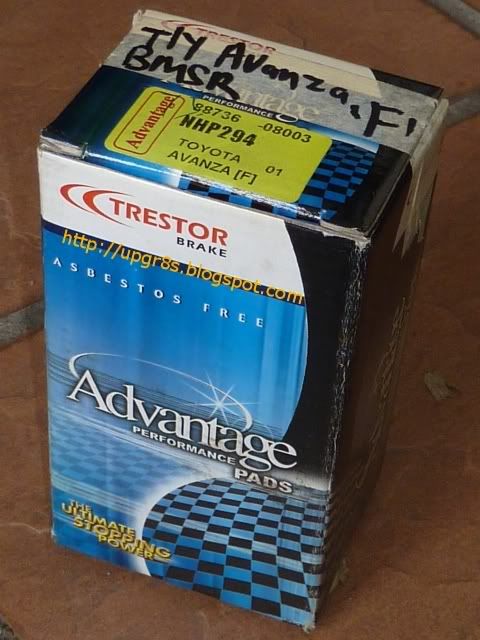
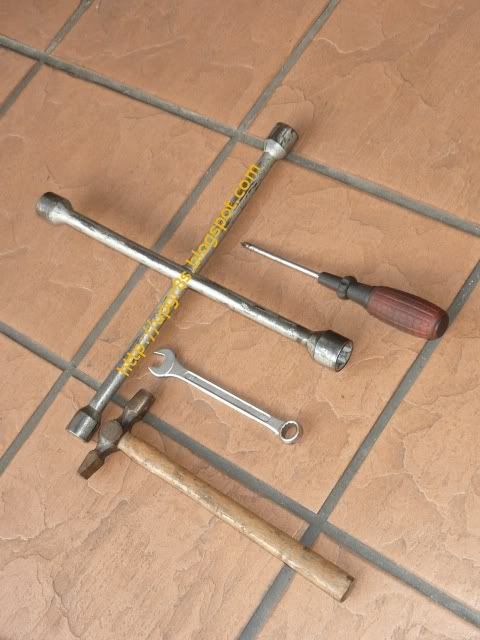
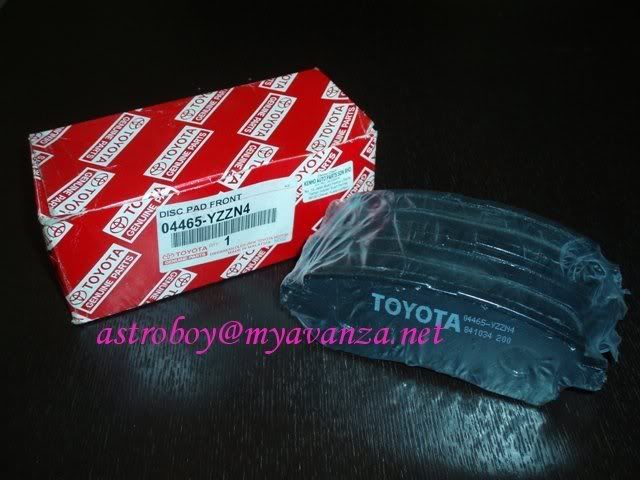
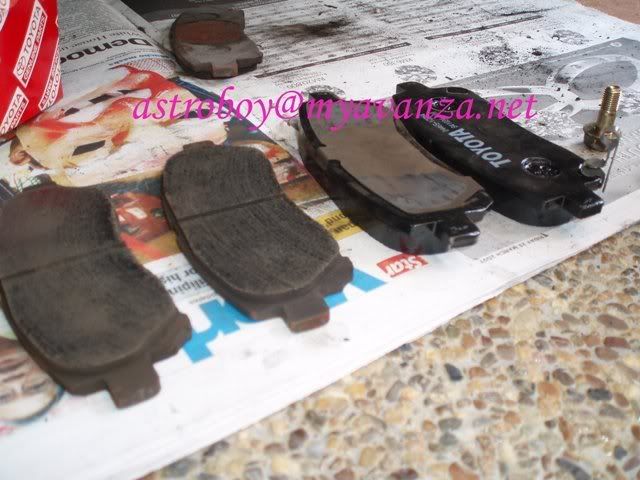
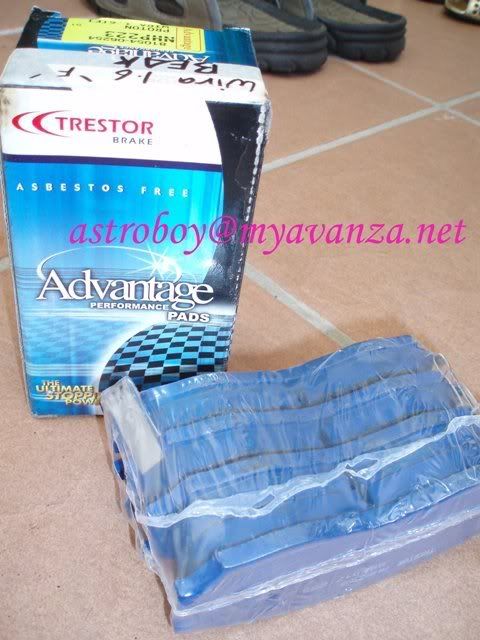
Just bought this set of front brake pad..

Cost me RM95..
The spare shop ask if I wanted cheap or orginal one.. I asked him what's the different, he said the price lor... :-/
I ask him to show me because from the workmanship, its pretty easy to differentiate..
The shop keeper went to the back of the shop and return with only the original and say.. "Aiyoo, only original left woh.."
With no option at all, I just grab loh.. :-/
Mileage.. 50k km..
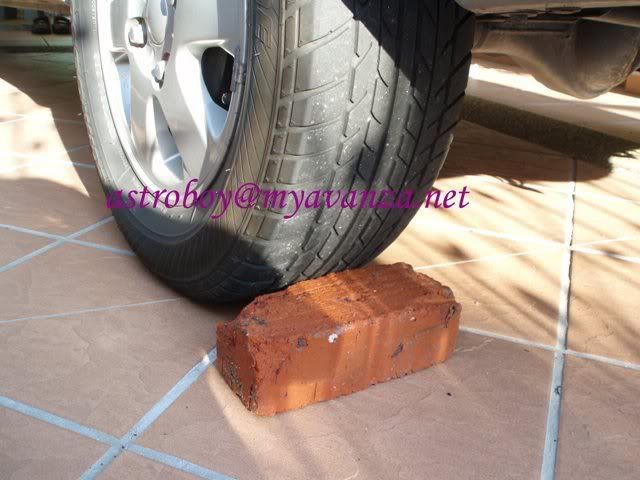
Step 1: Place a brick at the opposite rear wheel. If you r jacking the front right, then place the brick at the left rear. This is to stop the car from reversing and move on three wheels..

Step 2: Loosen the wheel nuts before jacking the car. This is because after the car is jacked up, its difficult to loose the nuts as the wheel keeps rotating and its difficult to apply force to loose the nuts.
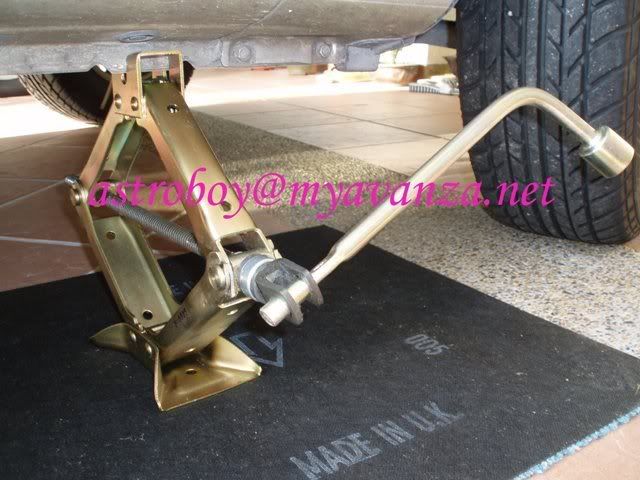
Step 3: Start jacking the car. Please pay attention on where to jack. This is important because you don’t want to jack the wrong place. Jacking the wrong place is both hazard to life and may damage the chassis.

Step 4: Rotate the wheel so the air valve is on top. This is a marker to make sure when putting back the wheel, its returned to its original location. A wrong position may result in vibration. Of course, provided that you don’t rotate the brake disc la.
(Trick: If you have to rotate the disc, then screw back a nut to identify the valve location.)Step 5: Now u can take out the wheel.
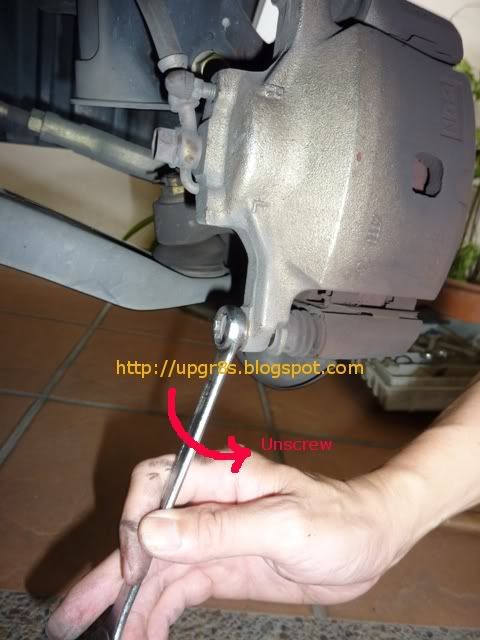
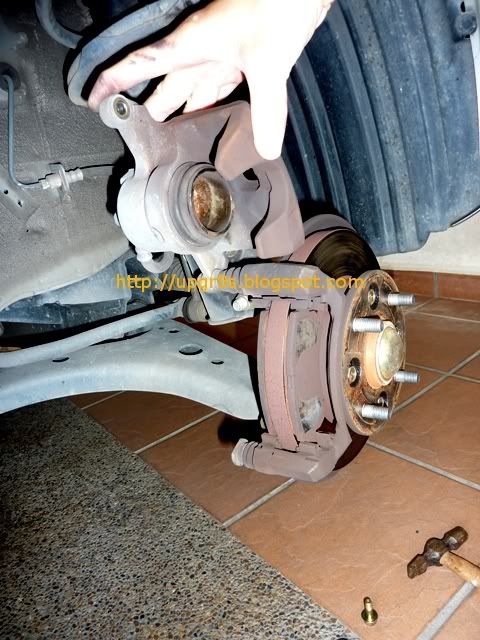
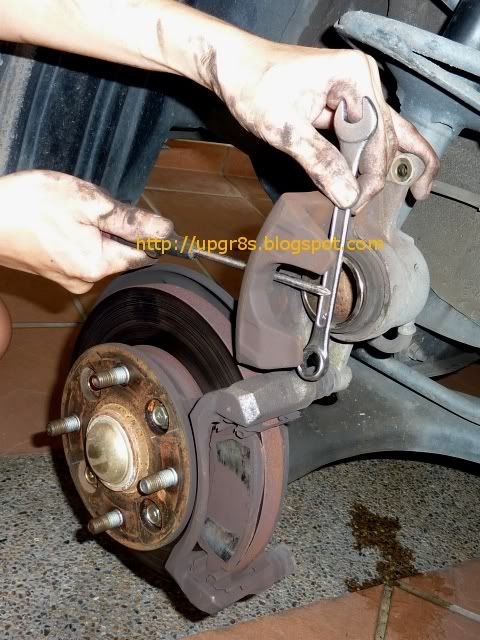
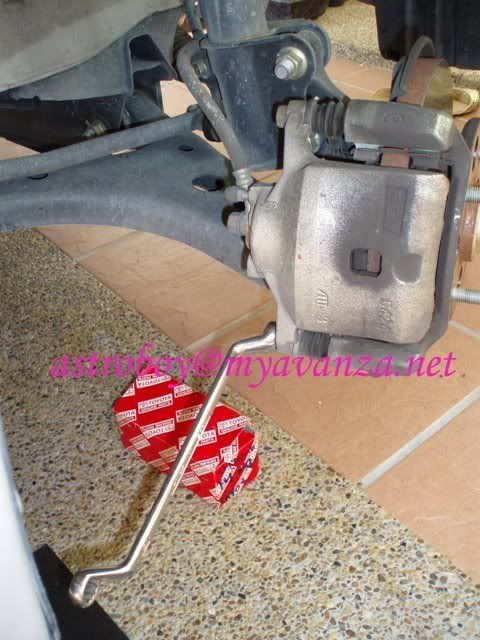
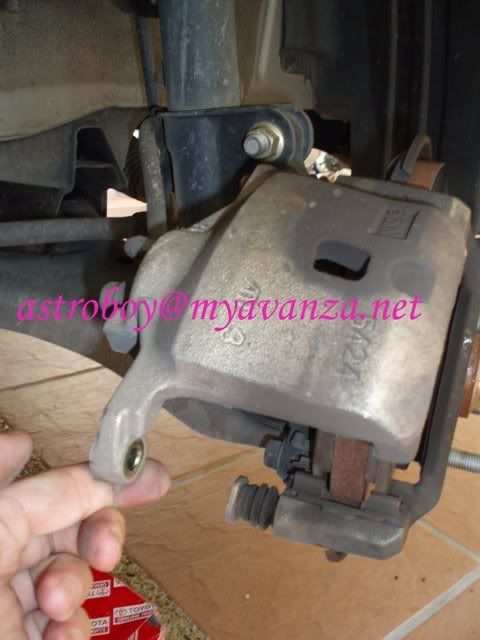
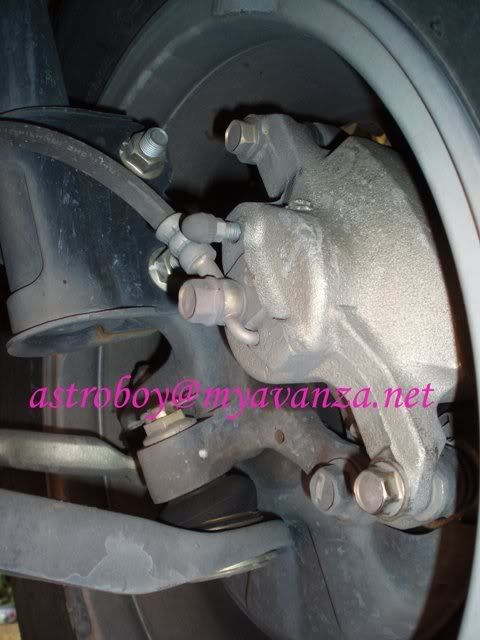
Step 6: Get a size 14 ring spanner to remove the bolt as shown on the photo. Normal thread, don’t turn wrong direction. I find many members have difficulty removing nuts or bolt facing inside out. I too, sometimes confuse.. ;D

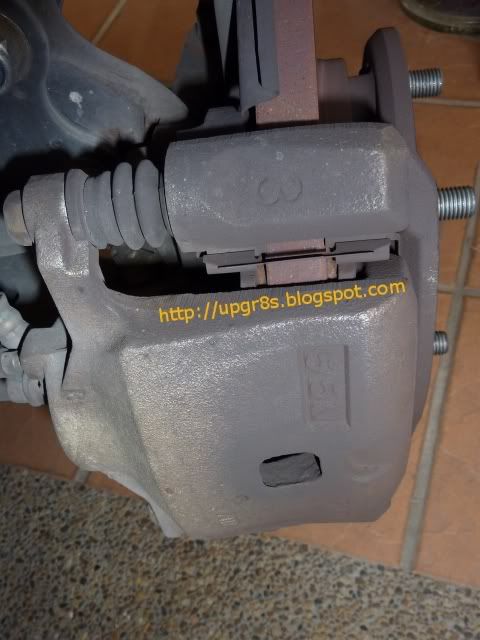
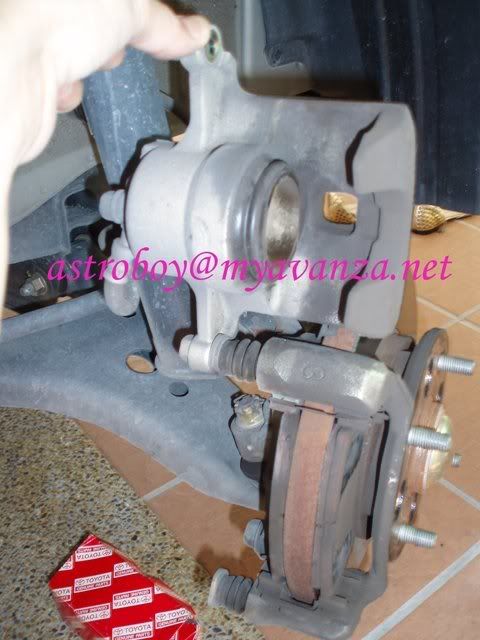
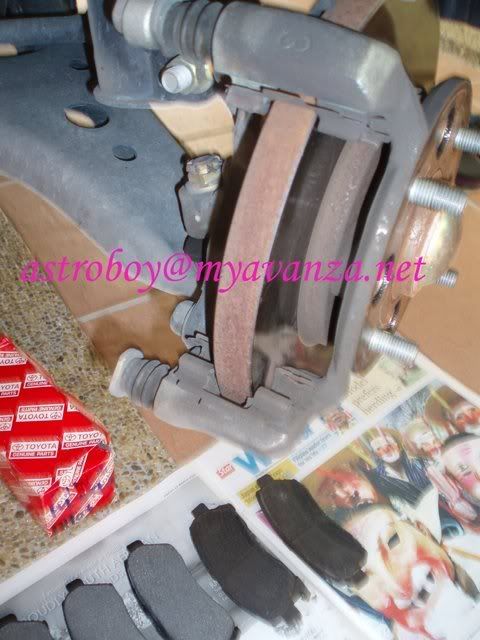
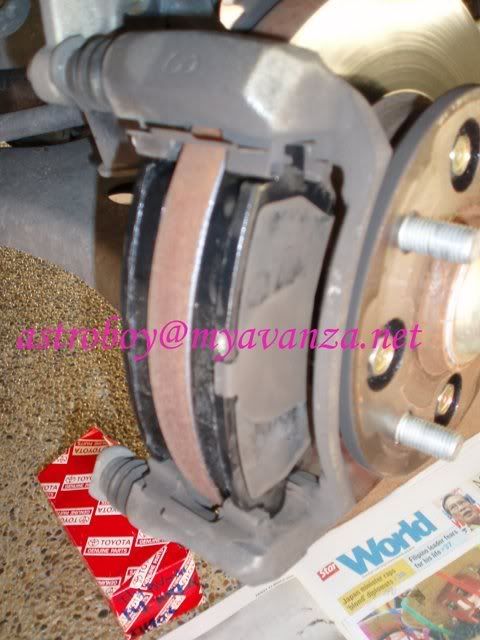
Step 7: Once the bolt removed, flip the calliper upwards. After which the brake pads are exposed. Just tarik the pads keluar. You may want to use a screw driver to korek it a bit but make sure you don’t apply force that can damage or scratch the disc surface or worst, bend the almost an inch thick disc... ;D


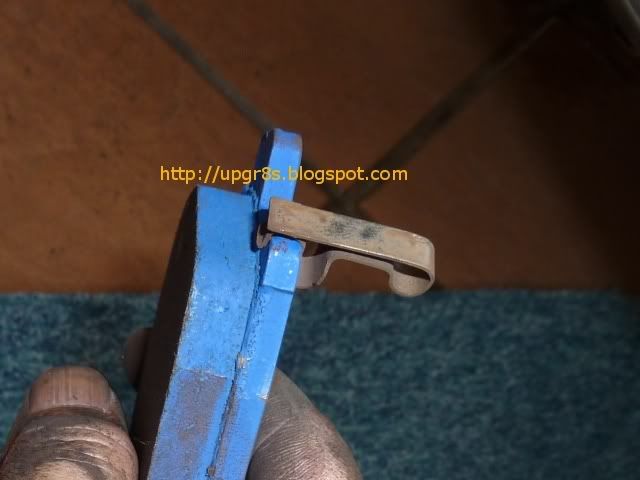
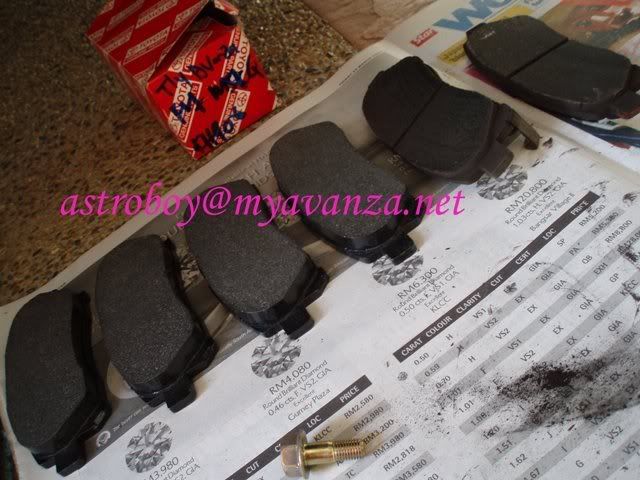
Step 8: You will now notice the used pad have a metal piece sticking out. That’s the wear indicator. Meaning when the pad habis, that metal will scratch against the disc and produce “geeeeek....geeekk...” sound. After which it will leave some scratches on the disc.... :P That’s why I usually never wait until I hear the sound.. ;D Just like the low fuel warning lights. Only good for people who keep forgetting to pump fuel or worst still, seldom pay attention to the guage. That’s why the car designer decided to lit up a warning light when low fuel.. ;D Too bad our brake pad have no “low pad” warning lights. My X-car got, and every time the light lited, I have to fork out RM16 to replace the thingy. It’s a glass-made grounding switch. The moment the pad is too thin, the disc will scratch the glass and break it. Inside the glass got tiny wire which when touch the disc (earth or -ve), the warning indicator will lit.. Ok.. back to Avanza.. :P ;D keltan and rfalmrf.. inspired ??? ;D
The following photo is after I have transfered the metal wear indicator to the new pad

Step 9: On the outer pad, there’s no wear indicator but there’s this metal sheet. Transfer the sheet to the new pad as well. That’s a very important “gadget” to disseminate heat from the pad and to stop or rather reduce vibration on the pad. I just don’t understand why the inner pad tak ada this metal sheet ???

Step 10: Pasang balik the pads.. Viola!


Step 11: The next step is the major reason why many rather let the workshop earn their money. The piston that pumps onto the pad to result force against the disc when braking, needs to be forced back into its chamber. Otherwise, you can’t flip the calliper back to its working position because the now thicker pad will sangkut the calliper.
The right way to do it is using a special tool. I call it a “reverse-clamp” (don’t know its real name.. :P). Like a desktop clamp, but it works on a reverse way. Instead of clamping in, it extend itself outwards to push the piston back into its chamber, with one end on the surface of the piston and one end on the calliper opposite the piston. Using the clamp is easy and can prevent the piston returning in a senget position and damage the chamber cylinder.
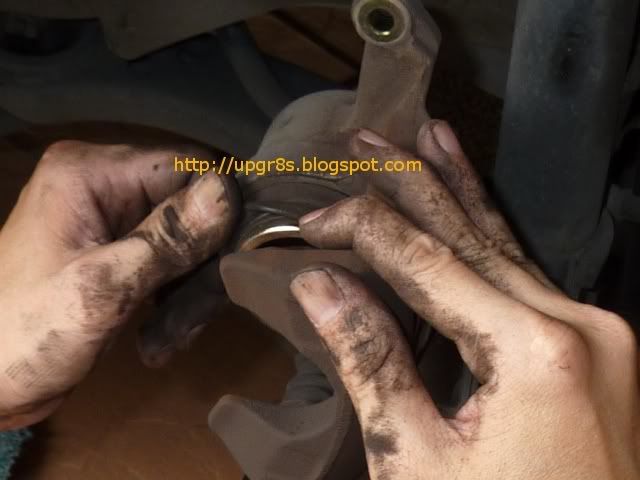
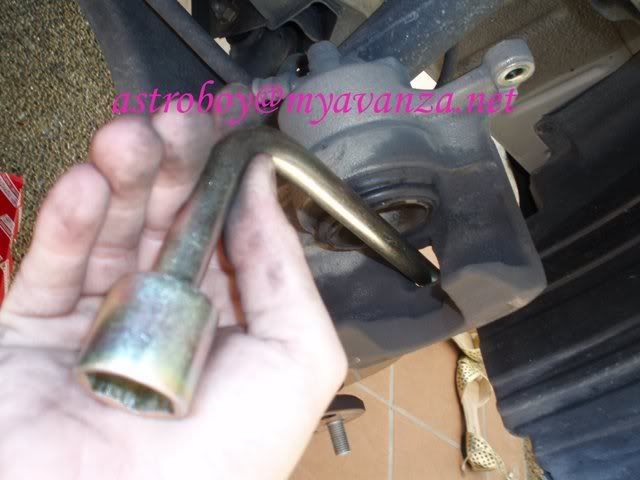
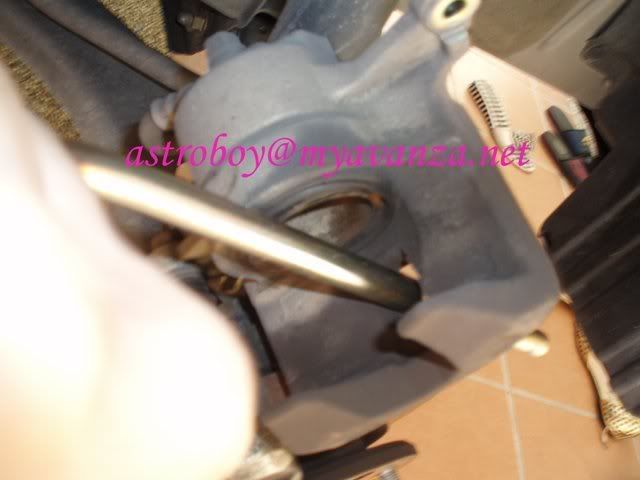
This is how I do it… ;D
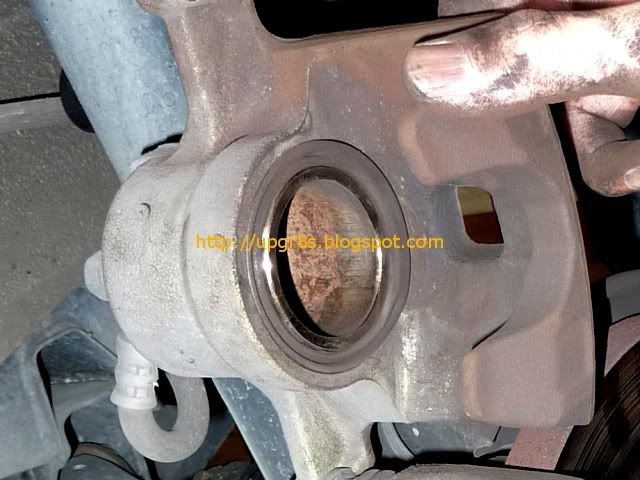
B4.. look at the position of the piston..

After.. look at the piston position again, it has now retracted into its chamber.. No need special tool.. ::) ;D but make sure you are gentle with it. Don’t force it too hard. A slight senget of the piston will potentially damage the chamber cylinder.. Be careful!

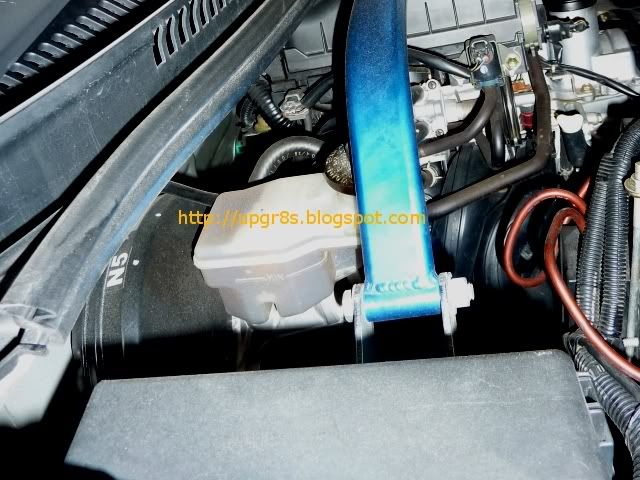
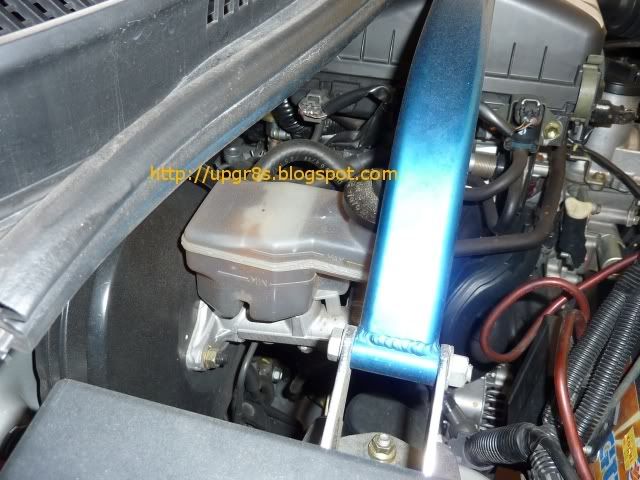
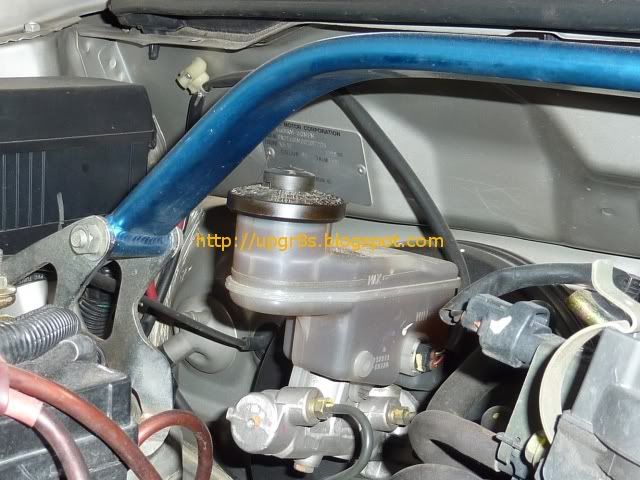
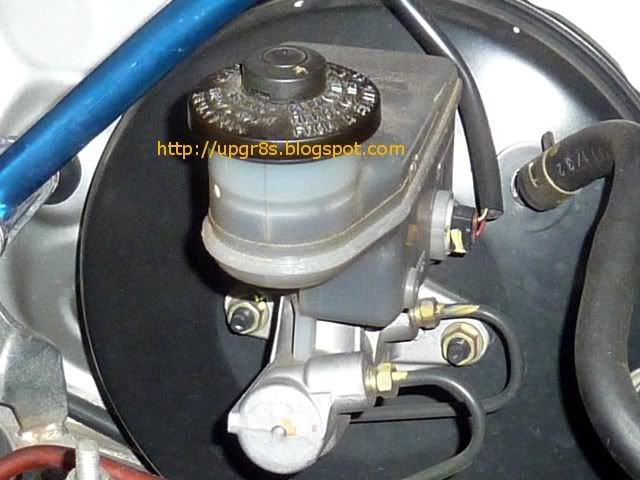
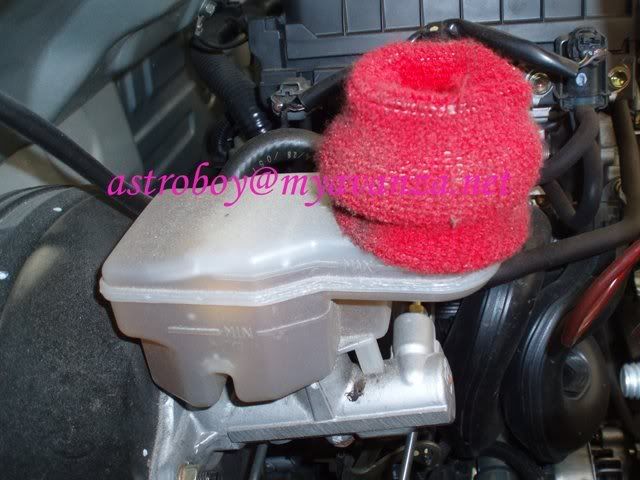
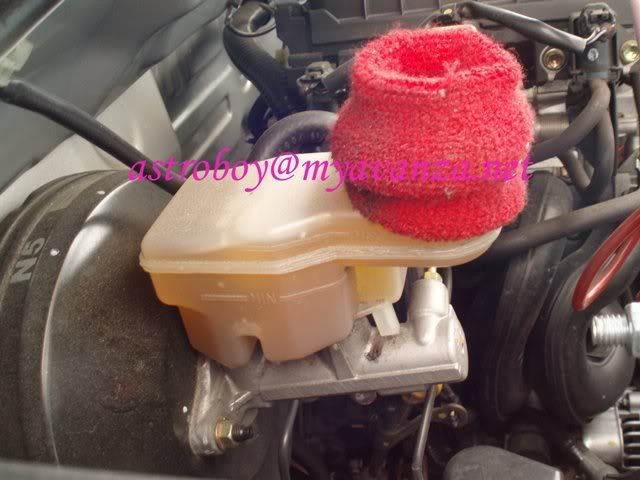
Step 12: After pushing back the brake piston, must quickly check the brake fluid level because the fluid that filled the calliper chamber has now been forced / pushed back to it reservoir and potentially cause overflow to the reservoir if the level is too full. Normally we do not top up our brake fluid because when the level is low, its most probably the brake pad sudah makan and more fluid needs to fill in the calliper piston chamber. This causes lowreing of the fluid level at the reservoir.

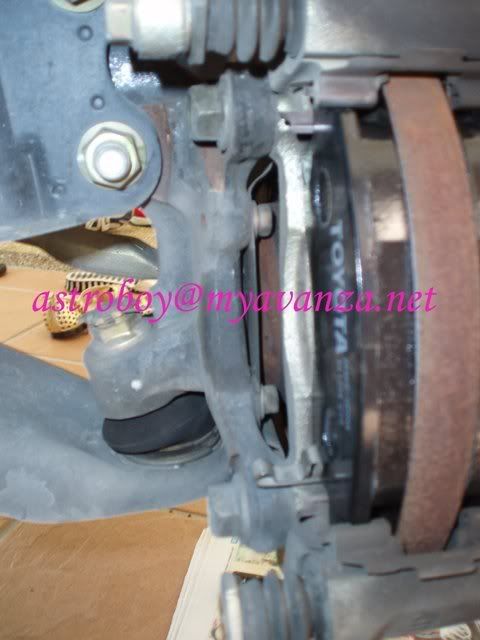
Step 13: Return the calliper to its working position and put back the size 14 screw. Then done lor. So simple that I forgot to take photo.. :P realise only after I put back the wheel. Anyway, this is it.. pay attention to the lower size 14 screw. Its now a bit kilat.. :P because we have worked with it.. ;D

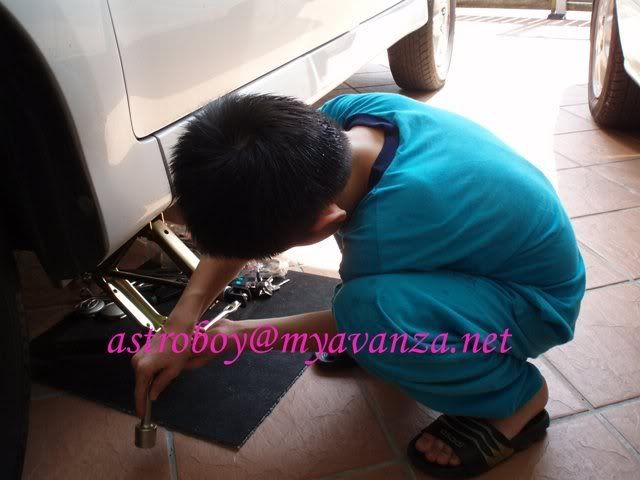
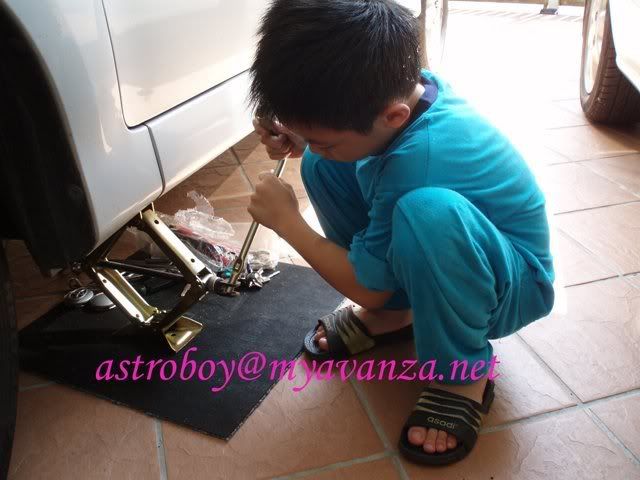
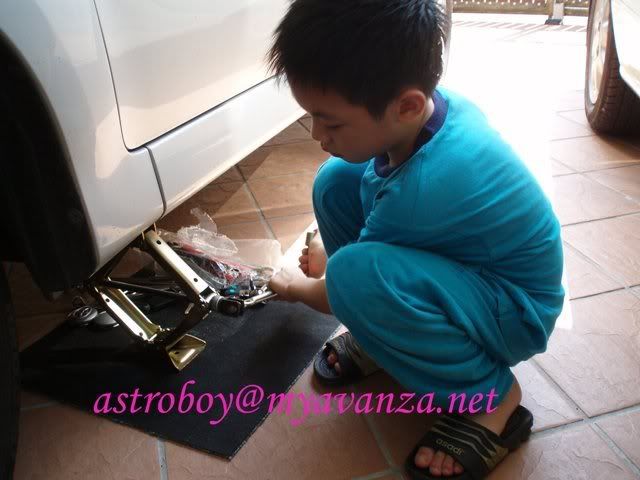
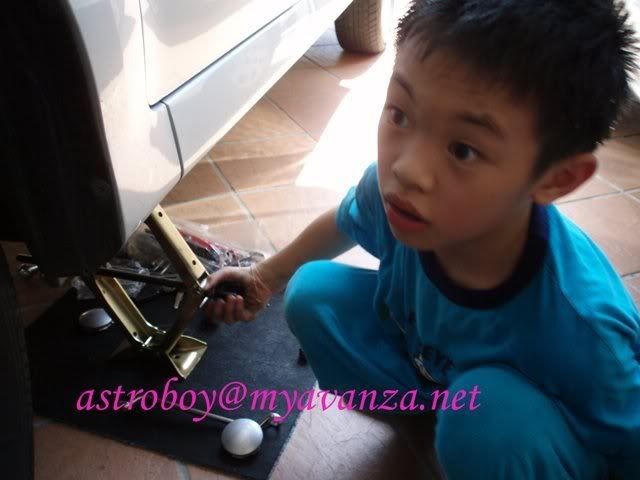
Step 14: Now repeat the same with the other wheel.. but I was lucky enough to get an apprentice.. :P ;D who is still on pyjamas.. :P


More photos:
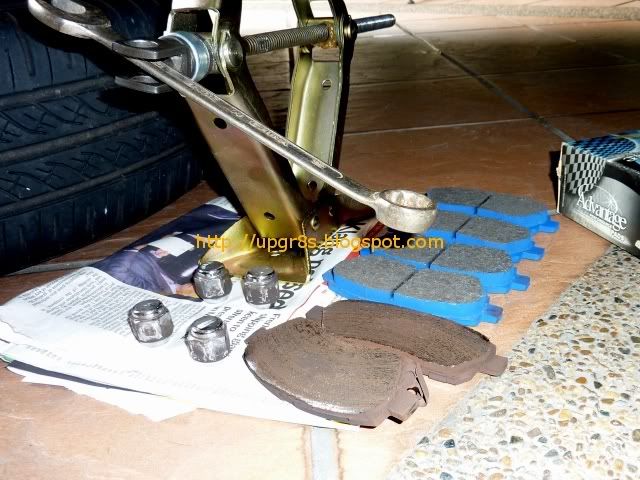
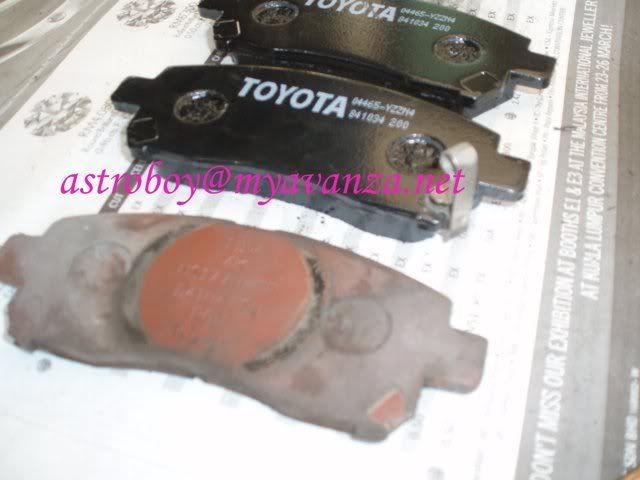
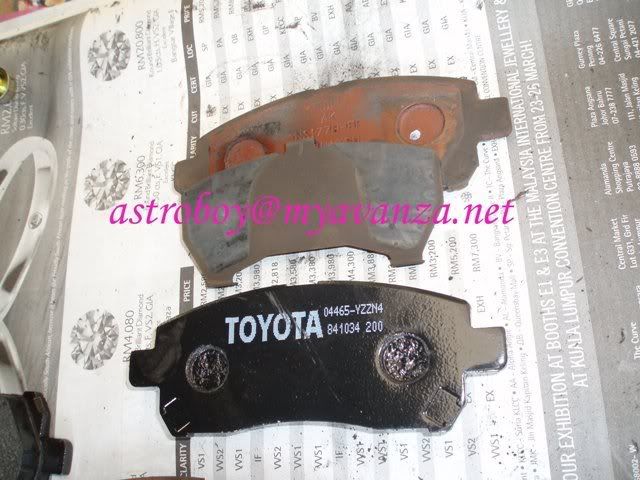
The used pads still have 1.5mm to 2mm but I decided to retire them.. The used ones has DAIHATSU imprints but all this while I not too happy with this original pads. Hope the Toyota brand is better.. :-\

Compare the inner wear among the pads.. not even..

Compare the outer wear among the pads.. not even.. meaning when check for pad wear. Don’t just check one side, must check all sides, in-out-up-down.. Nothing wrong with the brakes. Such uneven wear is common. If you get even wear, now that’s uncommon.. ;D

Fluid level after pasang both front pads. Very penuh because when I did my 40k km service, the SC has replaced the fluid with new ones and return it to MAX level.. without consideration of wear brake pad. See now what happens !!...

I recently bought front brake pads for my Perdana too. Cost me RM75 only.. and check out its wear indicator.. comes with the pads.. Love the blue color.. ;D but too bad different size with Avanza. Otherwise, I would have put it into Avanza.. ;D

WARNING:
1. All brake pads need to run-in and don’t forget to pump the brake pedal a little to force the brake calliper piston to return to its working position when use it for the first time.
2. Check the calliper screw which we buka just now, from time to time to make sure its not loose, I always worry too tight will damage the thread and too loose its dangerous. So got to check frequently. This is a life saving part of the car. Don’t play play. Even the workshop people do also I don’t trust.. :P
 Hence, the following DIY..