Showing posts with label ICE. Show all posts

Tuesday, 17 July 2007

Avanza: Speakers Upgrade Part 2

PART 2.. ;D

Finally have chance (not time.. :P) to complete my speaker upgrade. Front speaker was completed in Apr29, 2007. Been keeping the 2nd set of speaker deep inside my store room, away from my home minister’s radar.. :P

Okay.. here goes..

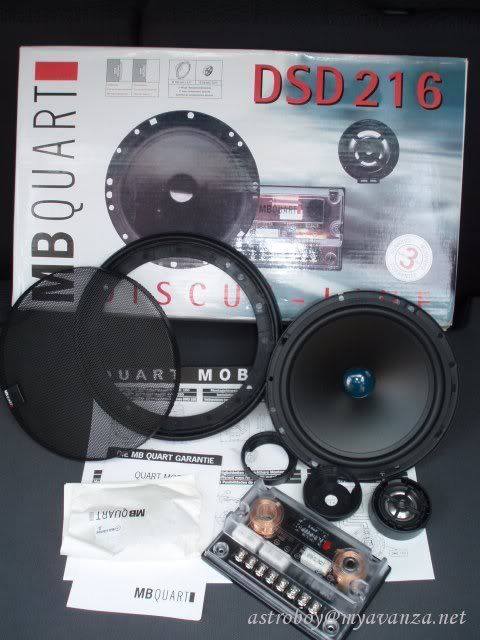
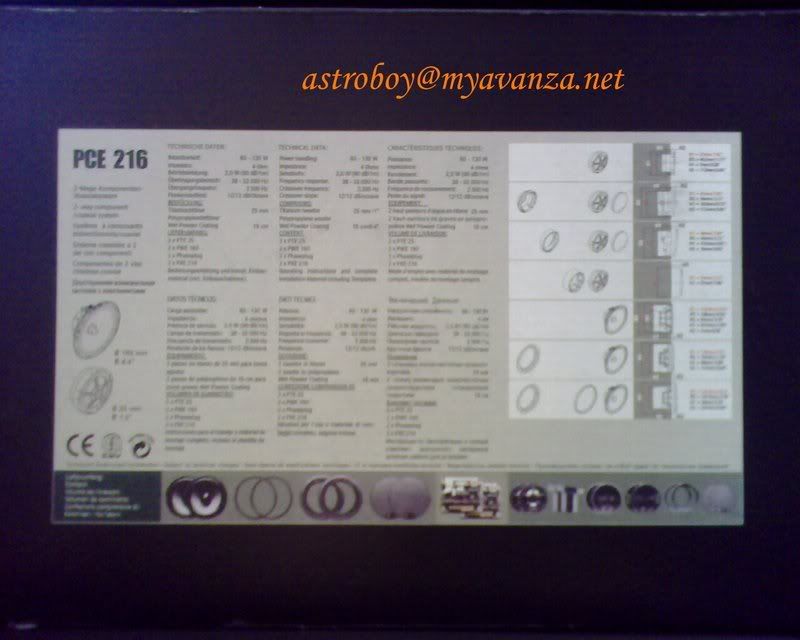
Main ingredient for the day.. The speakers.. MB Quart PCE216..
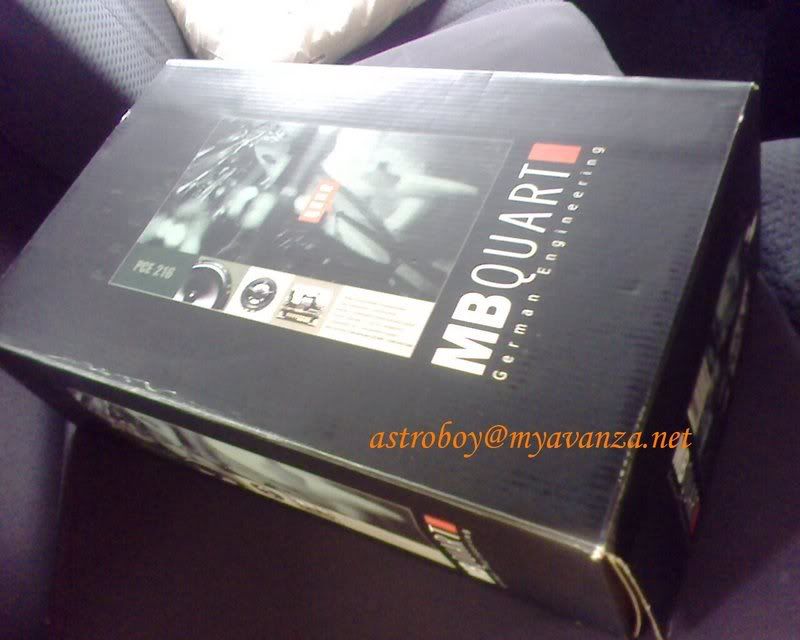

More info on the box.. it shows few ways to install the speakers.. all bracket and screws included… but I did it my way.. :P ;D

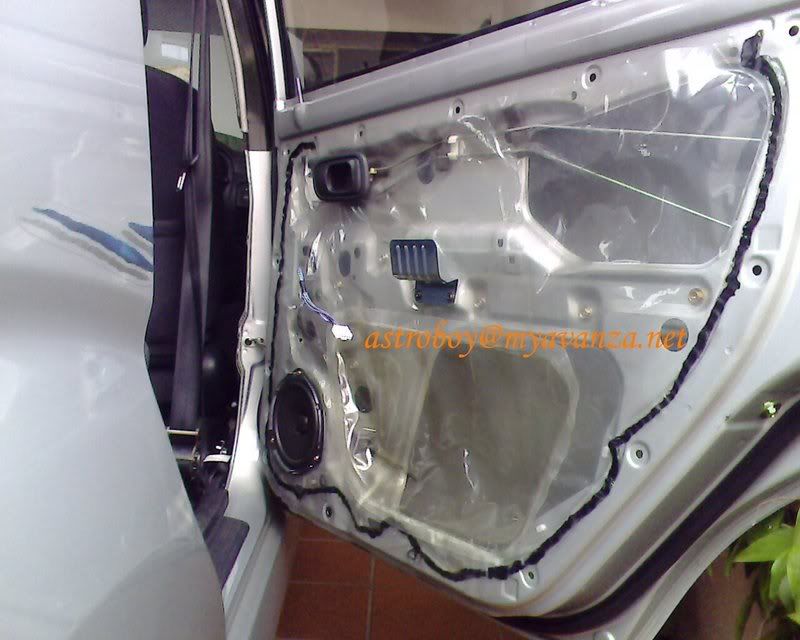
Door panel removed..

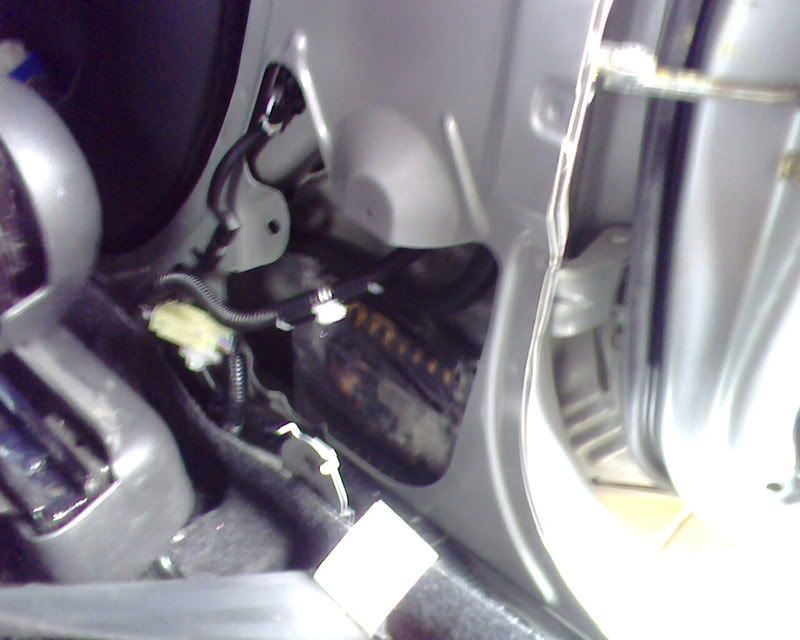
Pillar panel removed.. looking for place to hide/mount the gigantic crossover.. :( testing to tuck in the crossover.. VIOLA !! perfect spot!

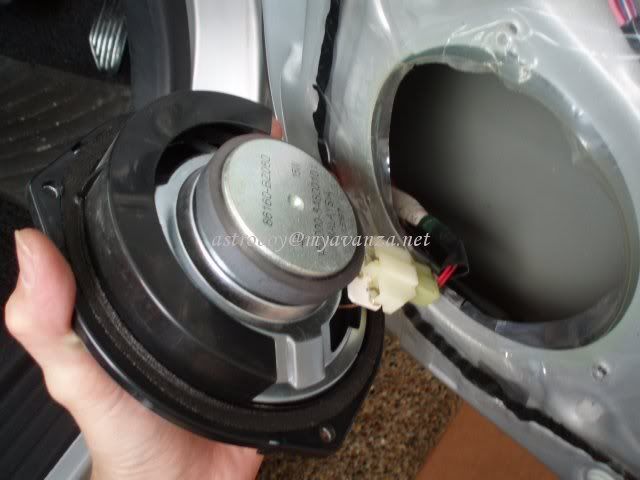
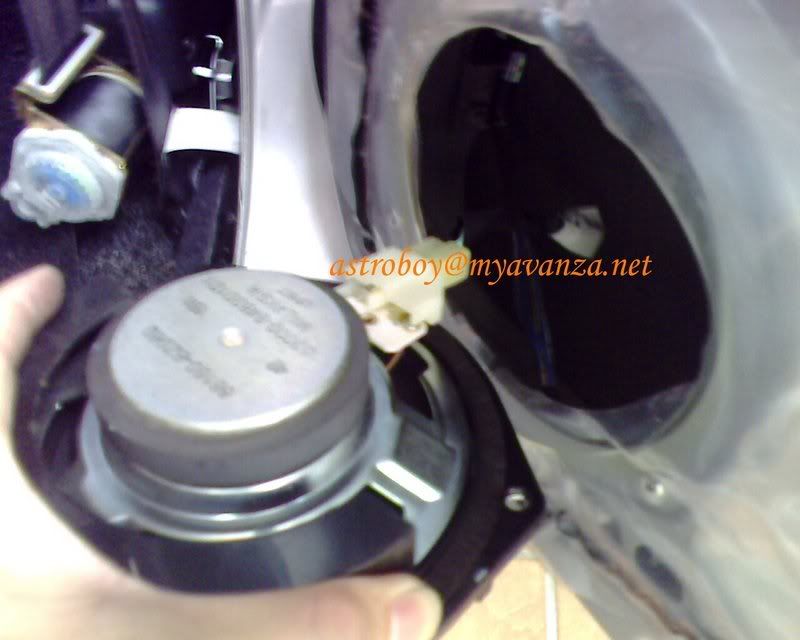
Remove the speaker..

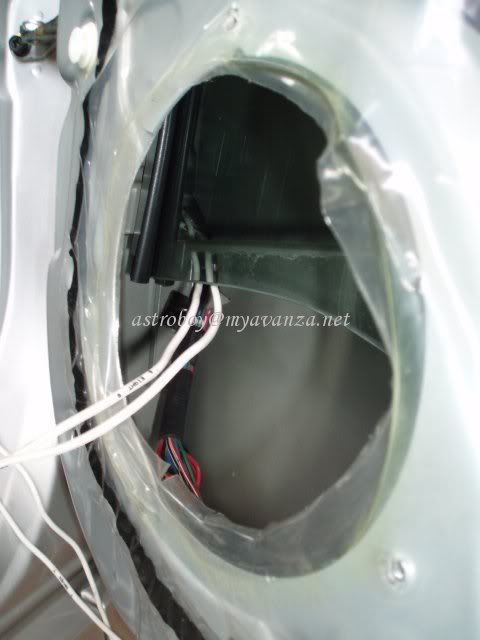
Wind down the window to check for clearance for the speaker..
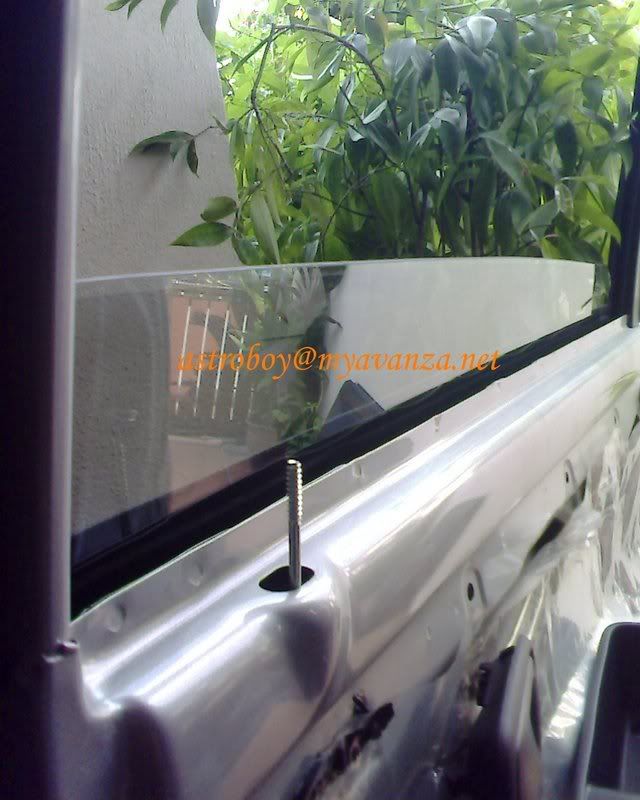

Check out the window panel behind the plastic protector..
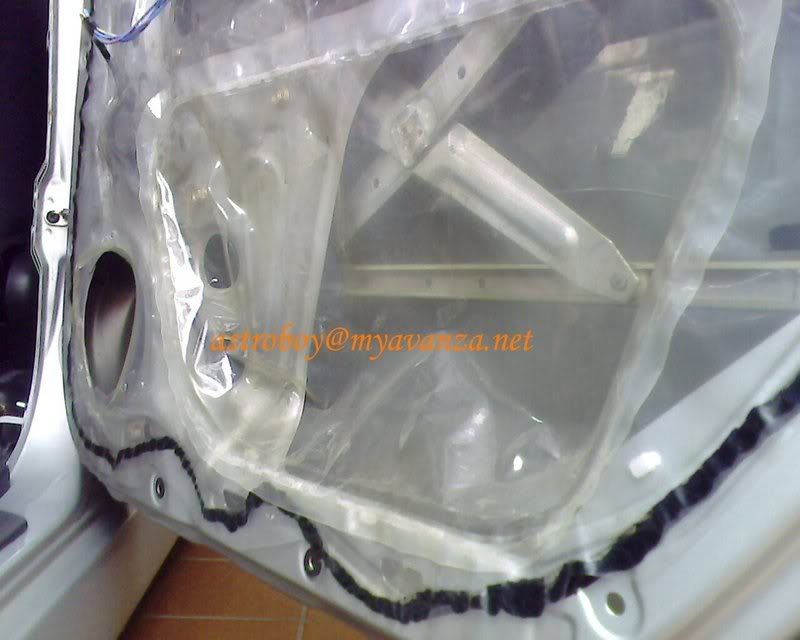

Plenty of speaker clearance..
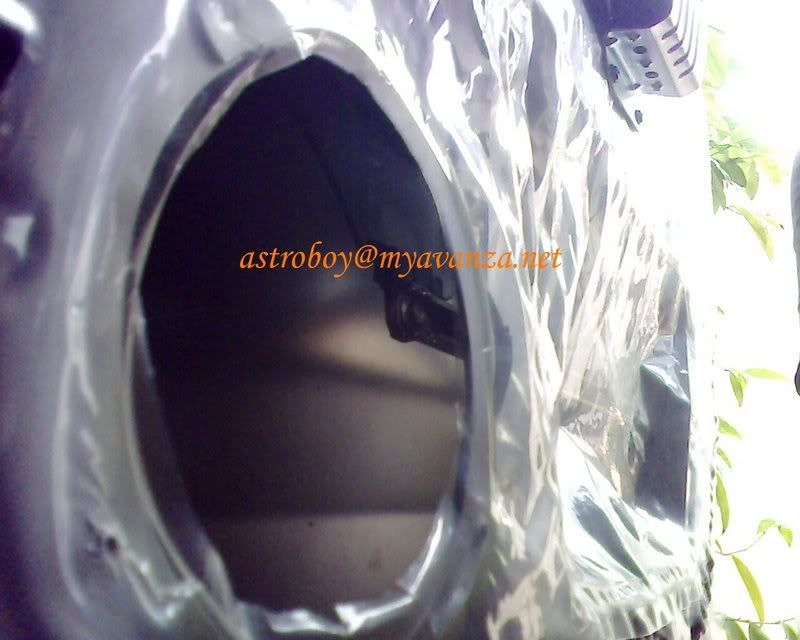

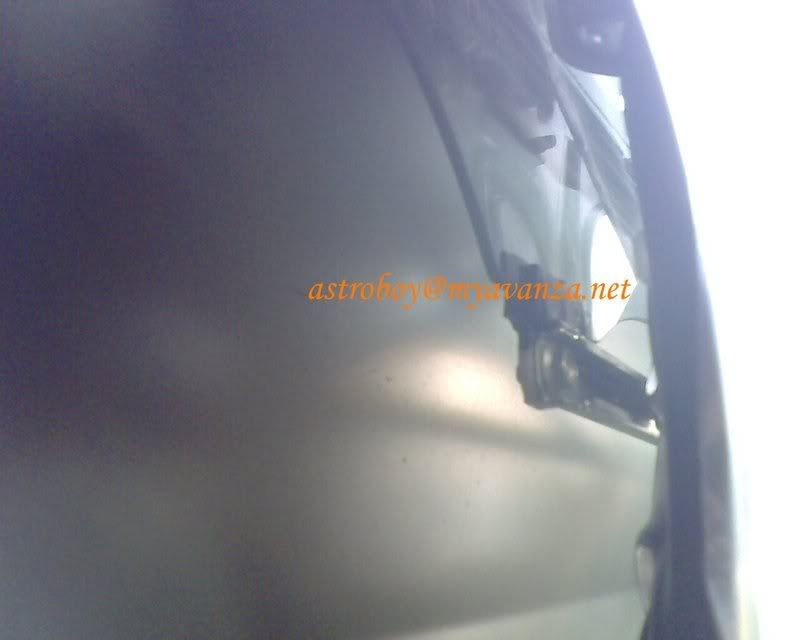
No problem at all because when fully wind down, the glass does not reach the speaker cavity. Meaning u can install speaker with monster size magnet also won’t kena the window.. ;)

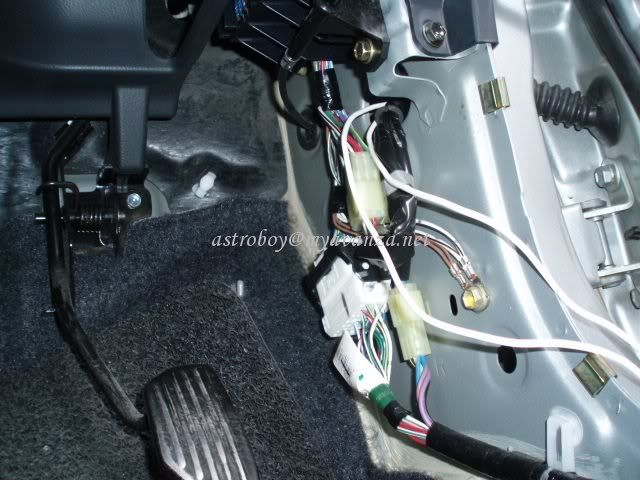
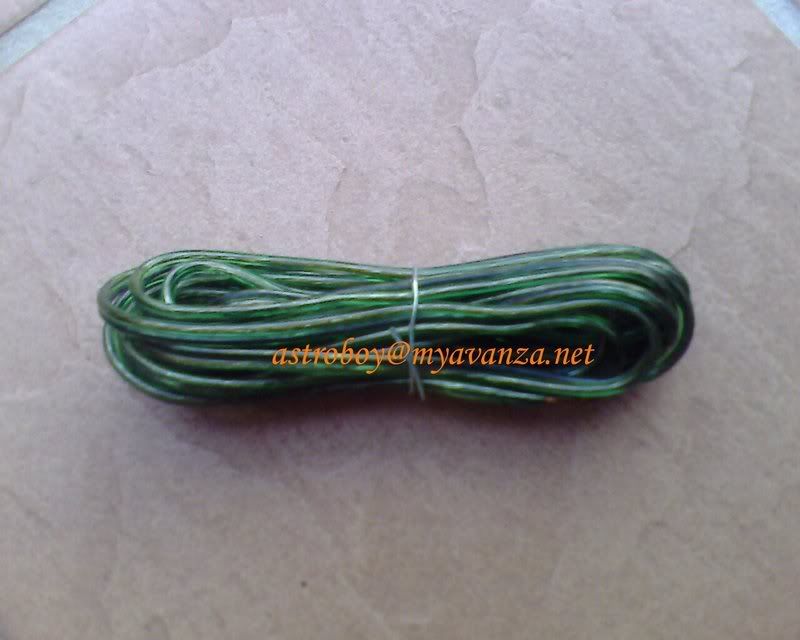
Once the above was confirmed, it took me more than 30 min to hunt for my speaker cable, bought long time ago from hypermarket AV section for few Ringgit for my hi-fi, which has now retired.. :P

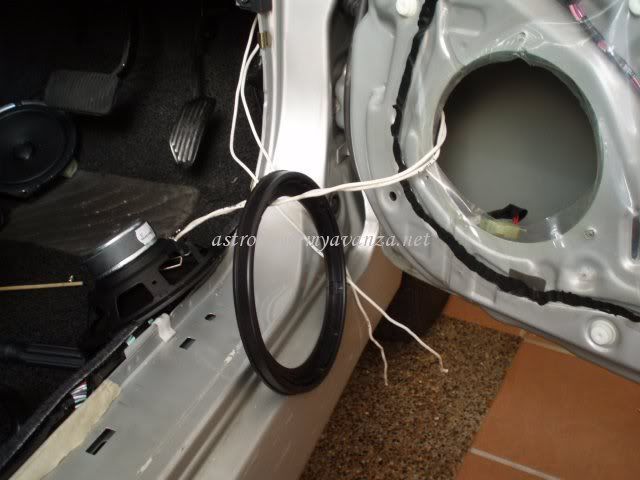
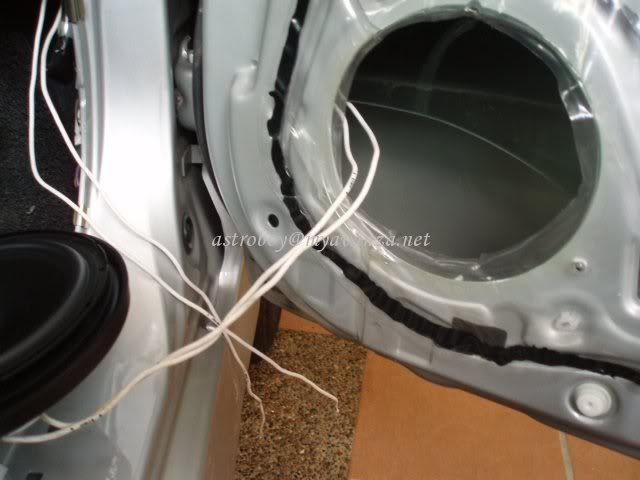
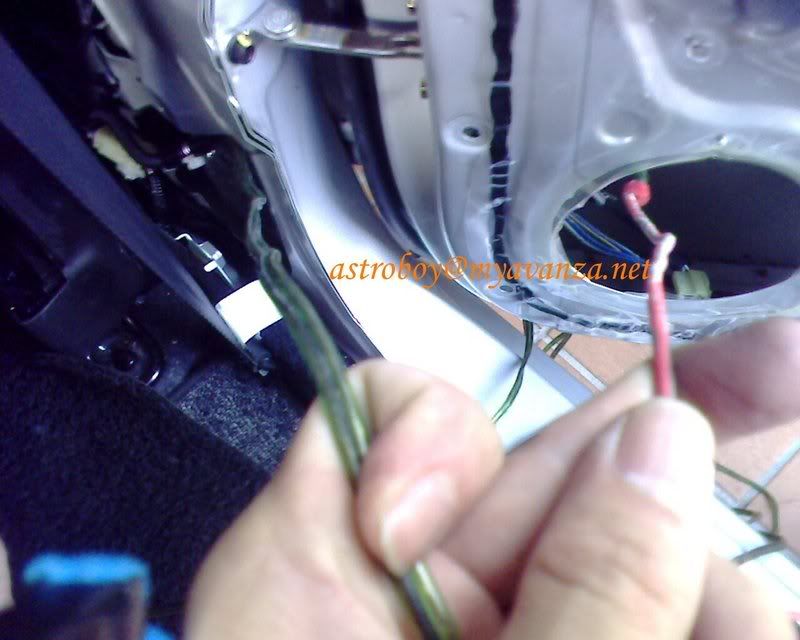
Insert a harder wire (red) into the wire tunnel as a guide to pull my speaker wire in..

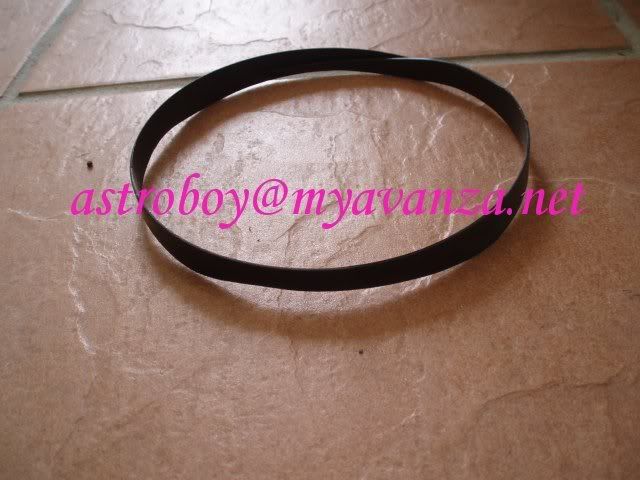
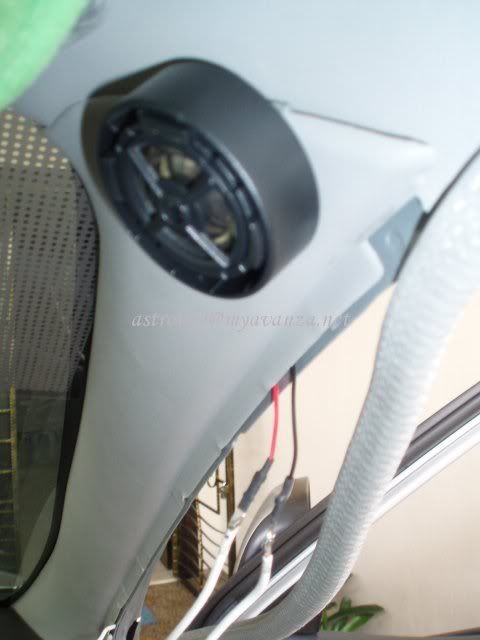
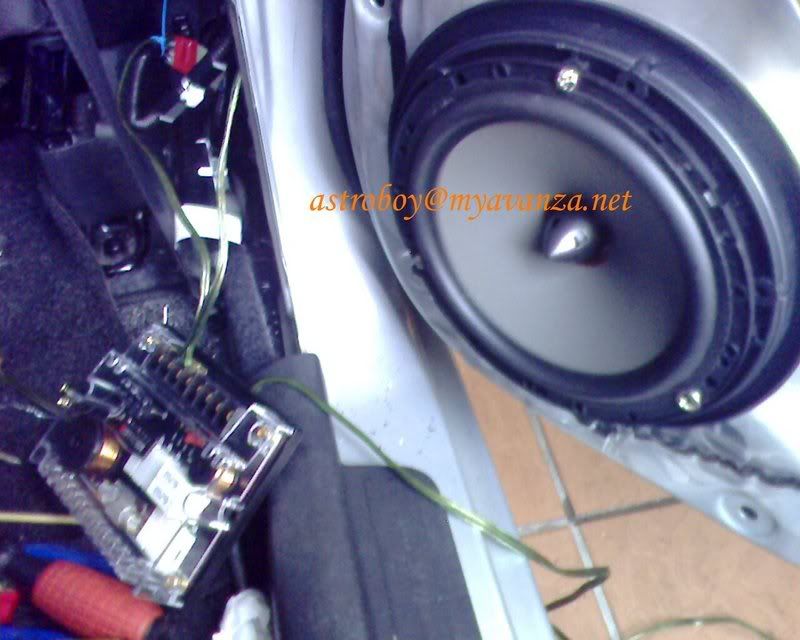
Speakers installed.. noticed the plastic ring used as a base for my speaker.. it comes with the speaker set as frame for the mesh wire cover but I use it as a base to raise my speaker.. even though plenty of room behind but the speaker too big in diameter.. sangkut the lobang and can’t sit in properly.. still need to raise.. :(

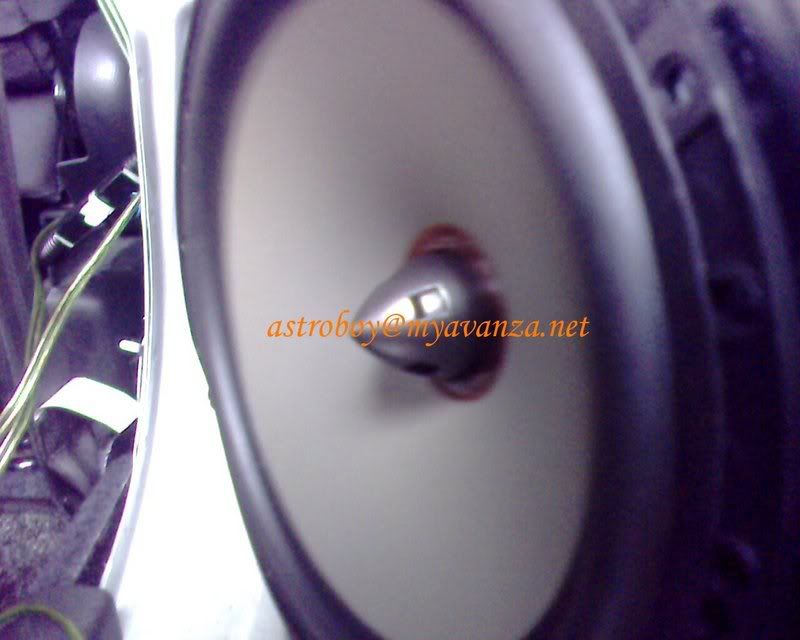
Check out the vibrating water proof diaphragm.. ;D

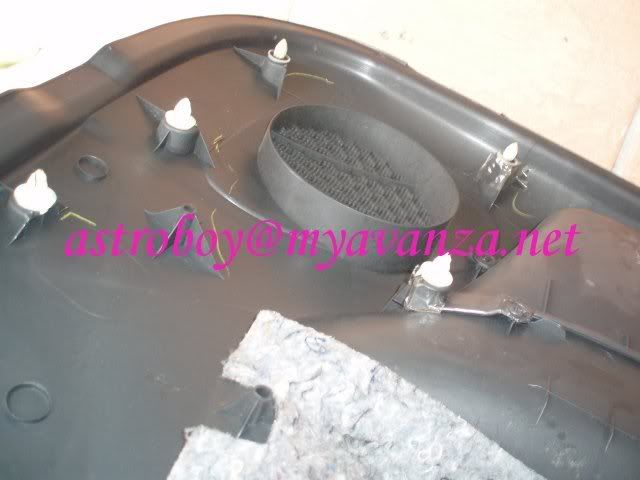
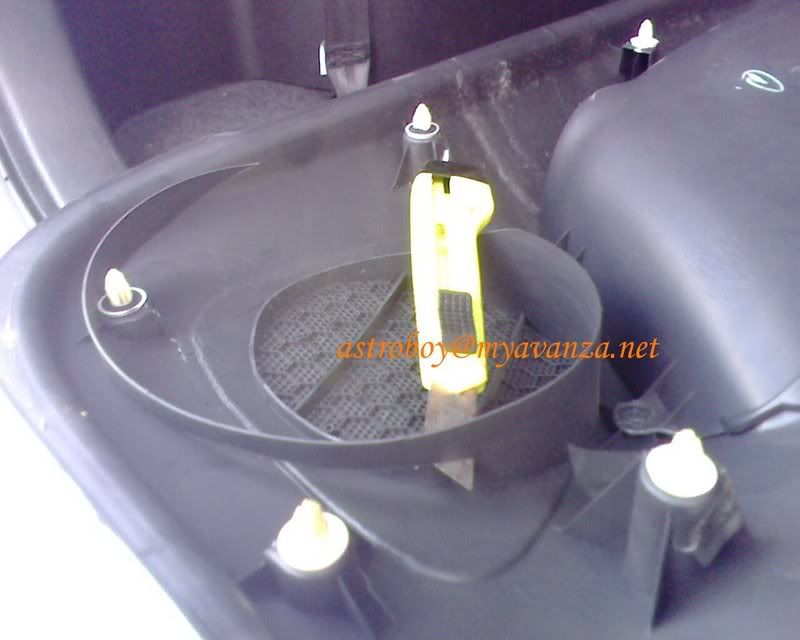
Now the panel.. just like the front panel, need to trim because we have raise the speaker and the vibrating diaphragm will hit the panel..
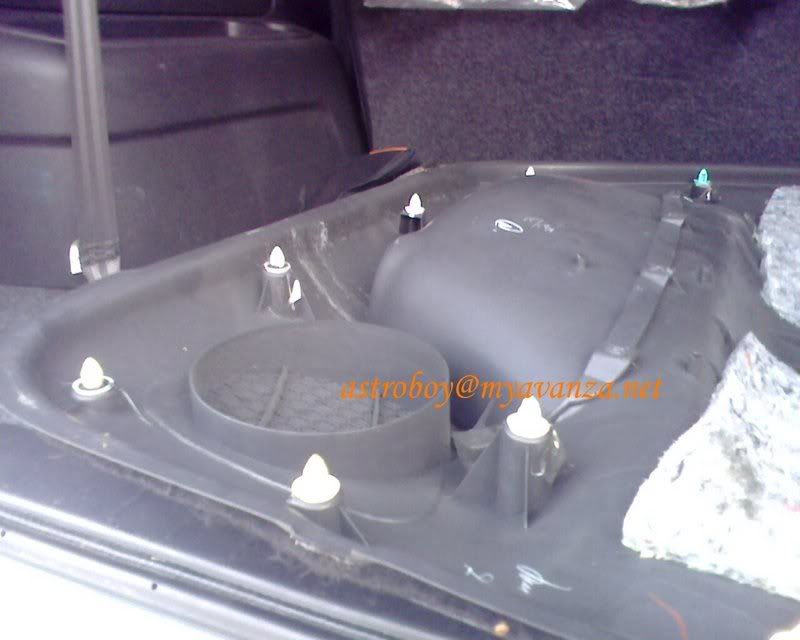

My rusty knife at work.. :D Luckily not rusty hand.. :P

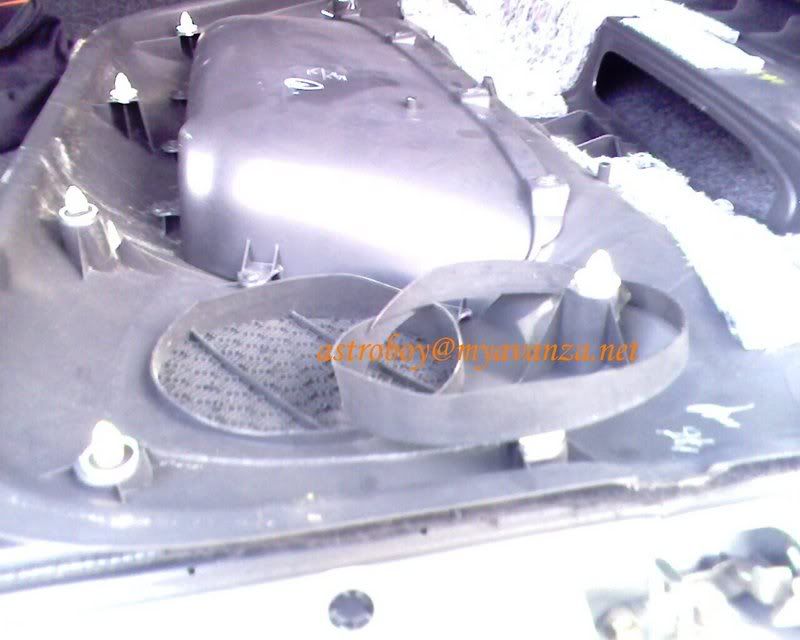
Now the tweeter.. make room for wires..

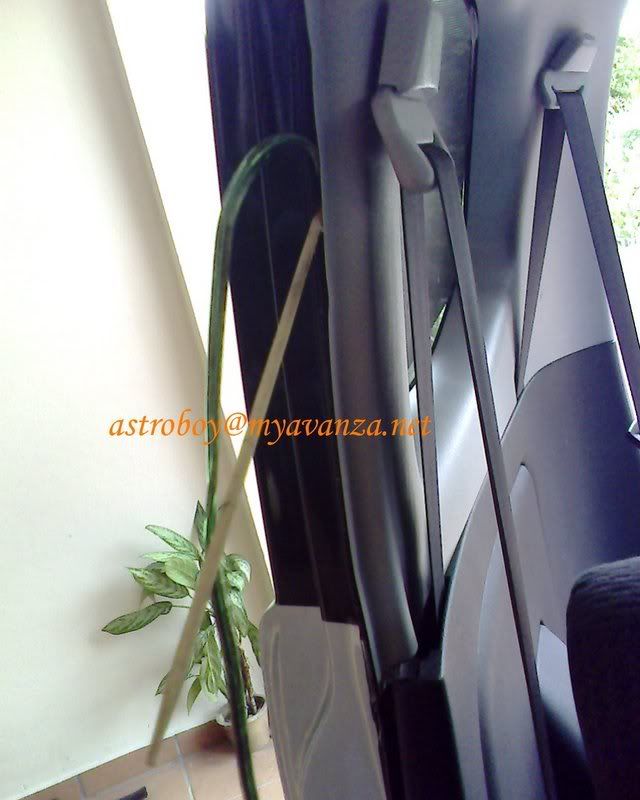
Use a satay stick to push it in… satay stick is available in my tool box, perfect for such application (won’t scratch the car)… :P ;D

Connecting all wires to crossover..
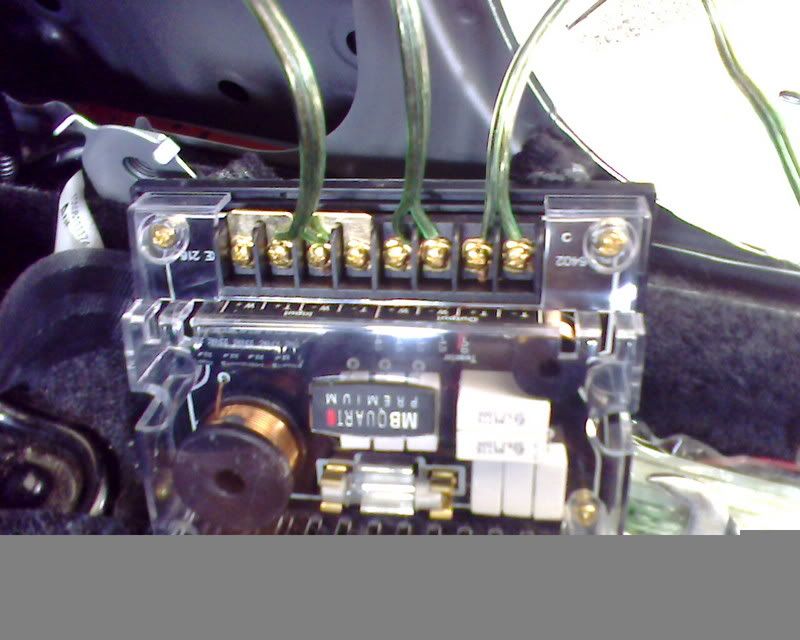

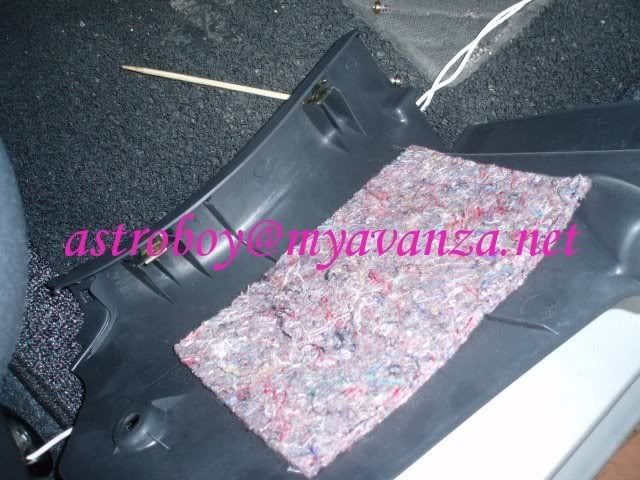
Check out where I hide the crossover.. :P Just nice.. ;D wrap the 4 edges of the crossover with some left over sound proof material to prevent the crossover from knocking all over the place..
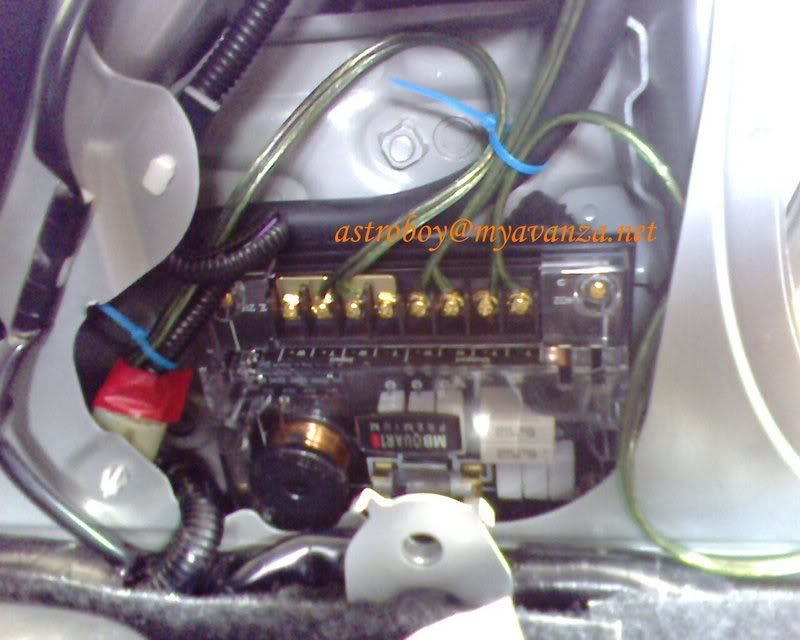

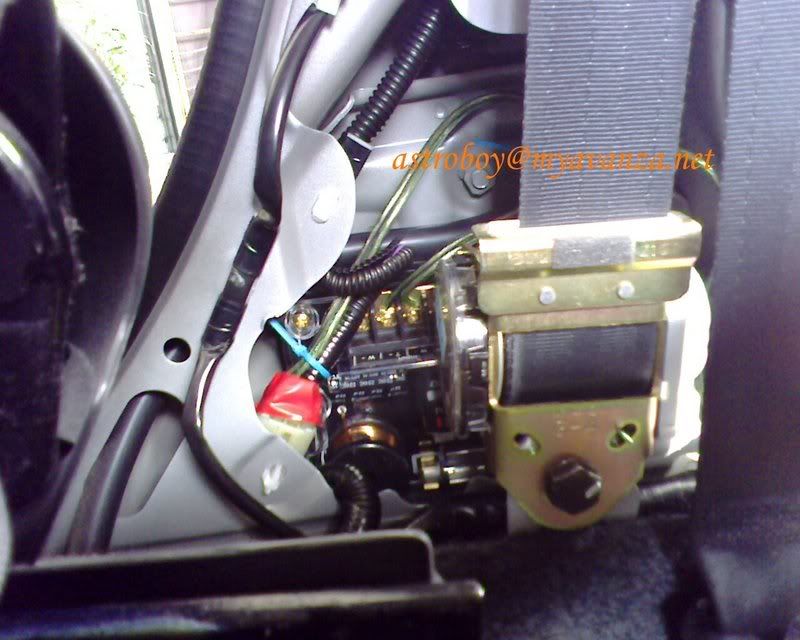
Seat belt roller installed..

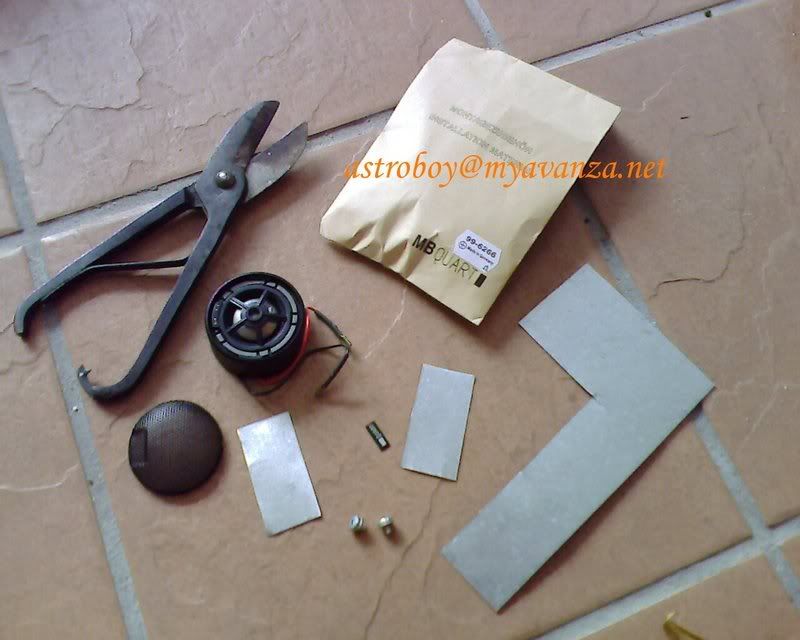
Now fabricating the bracket to gantung the tweeter.. This tweeter is a slightly bigger than my front tweeter (DSD216 series).. but same method to gantung..

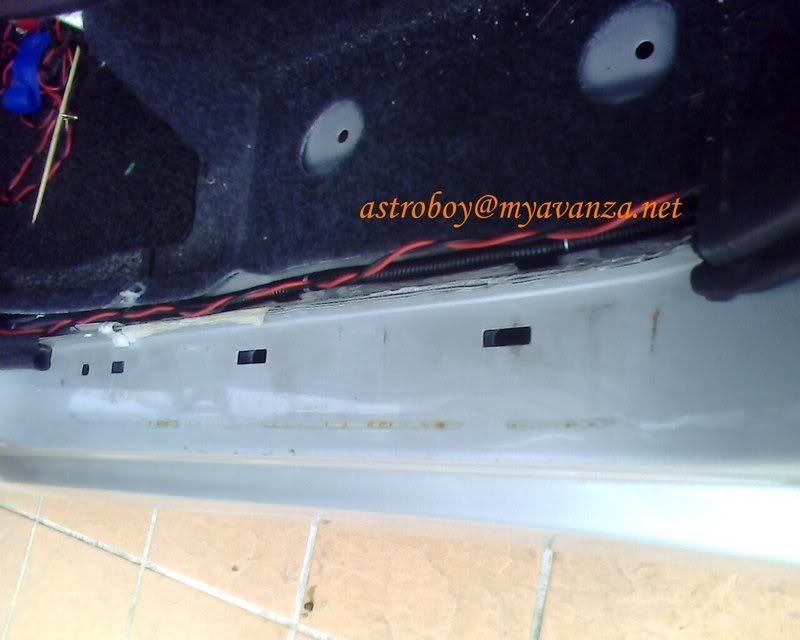
Did the satay stick trick.. and lay the wire down… notice now I’m using the cheapo black/[color=red]red[/color] wire.. :P my speaker wire runs out.. :P Also pay attention to the rusty section under the step plate.. :( Now I desperately need to get my Avanza some touch up paint.. :o

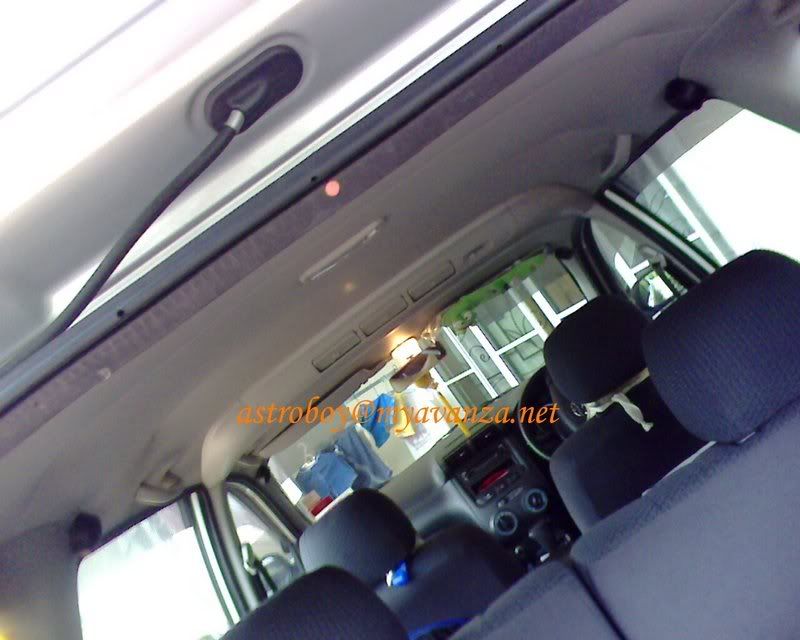
Check out both my front and rear tweeter.. ;)

Rear tweeter close-up..
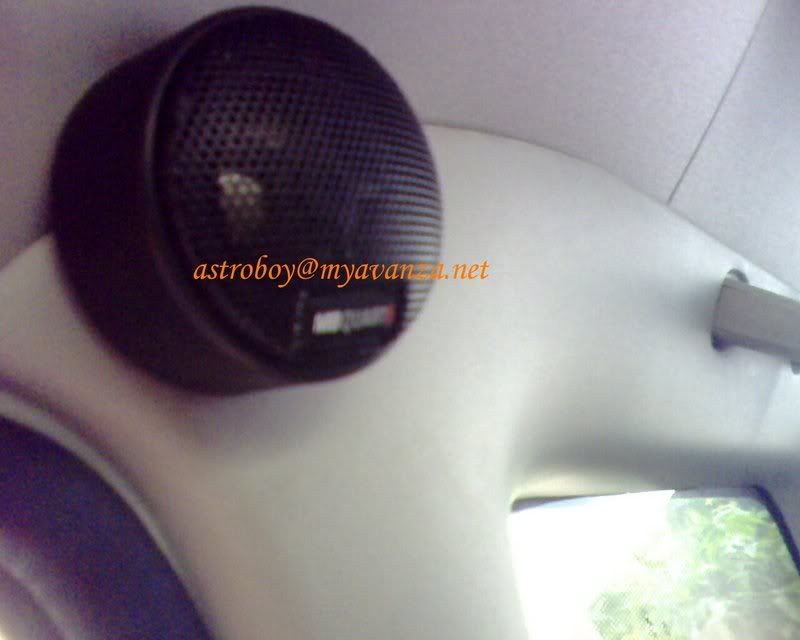

I decided not to hang it at the rear (3rd) pillar because:

1. more work :P
2. more wire ;D
3. too far for the rear tweeter to project to the driver/front seat, thus possibly creating irritating, ghostly :P echos.. ;D

Now waiting for rear speakers to run in.. can someone pass me a muffler for my ear please.. !! :P I shall need it for the next 2 weeks, at least.. ;D

In fact last night at the Bangsar TT after the dinner, keltan23 had a chance to test out my front speakers.. while my rear is half done.. :( He keep asking me one question.. “sure or not no amps !!??” ;D ;D

Oh..yah.. all photos taken using my 1.3MP camera phone ;) .. my 7.1MP Olympus is oversea at the moment.. :P ;D

Sunday, 29 April 2007

Avanza: Speakers Upgrade Part 1

Okay.. latest update:

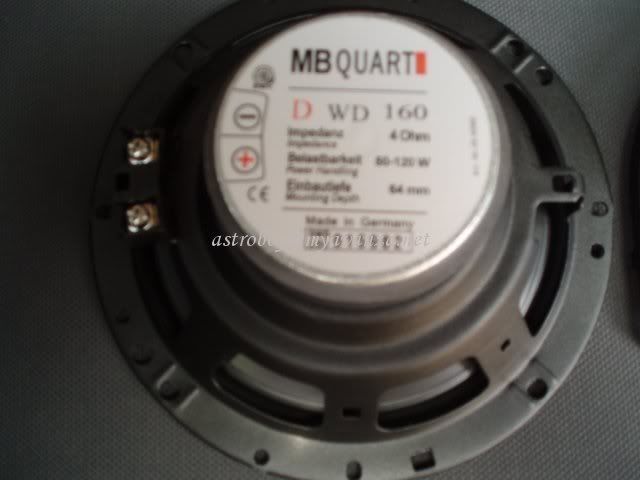
This is the MB Q set. What u see here is one side only.. ;D The other side I pasang oredi.. ;D The tweeter comes with 2 sets of mounting piece. One flat, one tilt but I didn't use either. Mine is own fabricated.. ;D Its a pitty that no speaker wire is supplied.. :-[


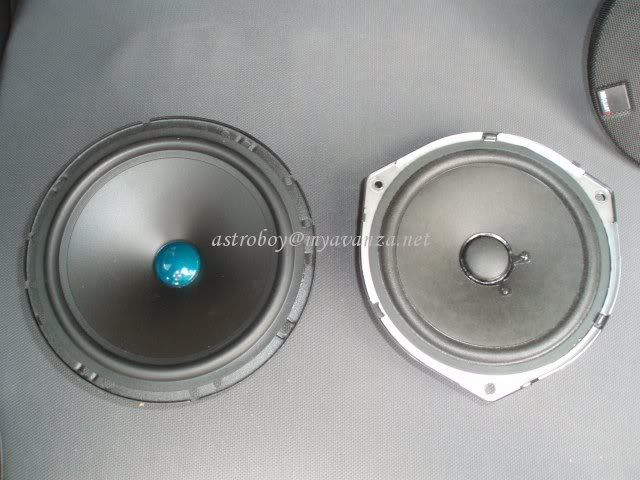
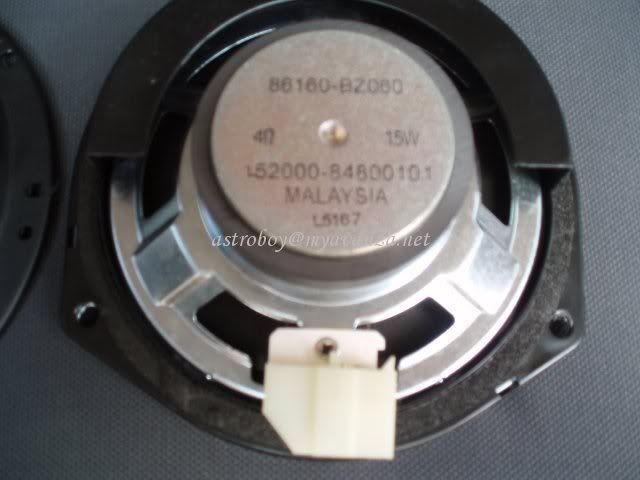
Check out the differences.. OEM diaphram is paper based and is vulnerable to the dampness in the door panel, while the MB Q is water resistance material.


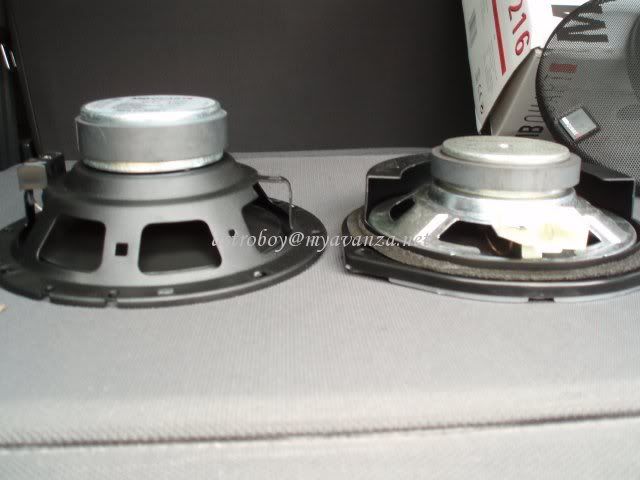
MB Q is about 3/4 inch thicker due to the bigger magnet..


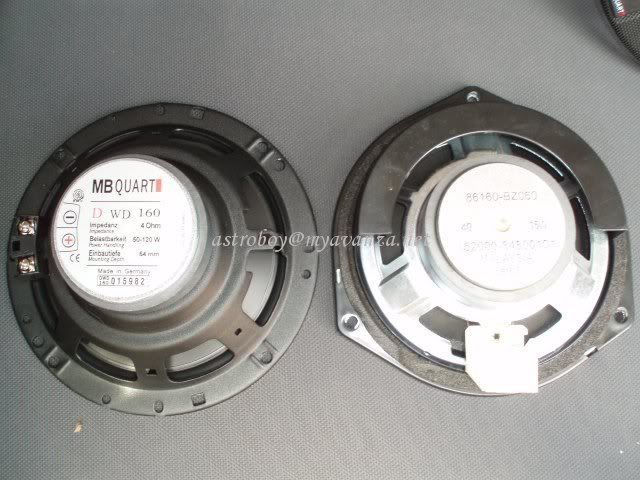
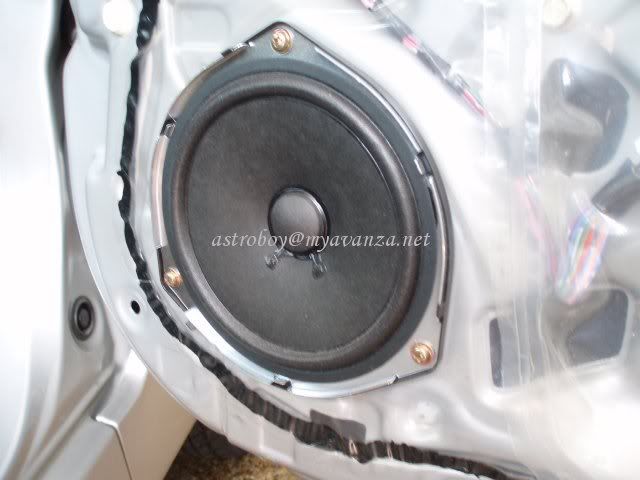
The OEM speaker has a plastic cover to prevent water to get in from the top to protect the paper cone.. notice the connector lain..


MB Q crossover...


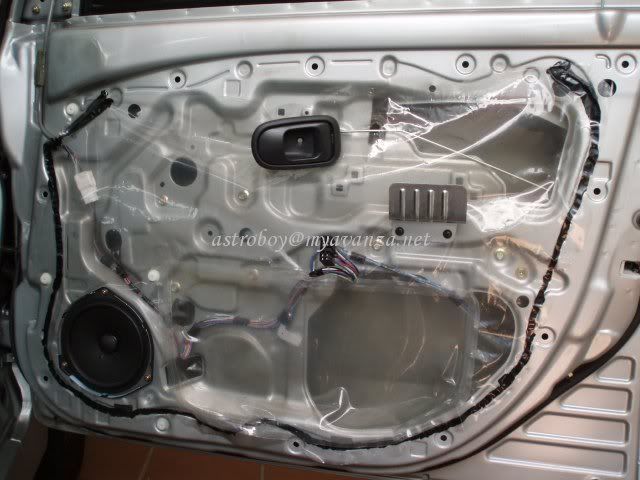
After the panel pulled out, few plugs still stuck on the door panel.. when removing the panel, have to firstly remove 2 screws. One on the arm rest and one on the door "opener". Then need to screw off the door-lock pin. Lift the lower part open and the stuts will realese one by one. Then lift the panel up because top part is kind of hang on to the top door section. Pay attention to another plastic screw-type fastener near the triangle side mirror base panel. Pull it off together with the door panel. Those stuts that still stuck on the panel needs to be pull off and pt back onto the door panel before installation..


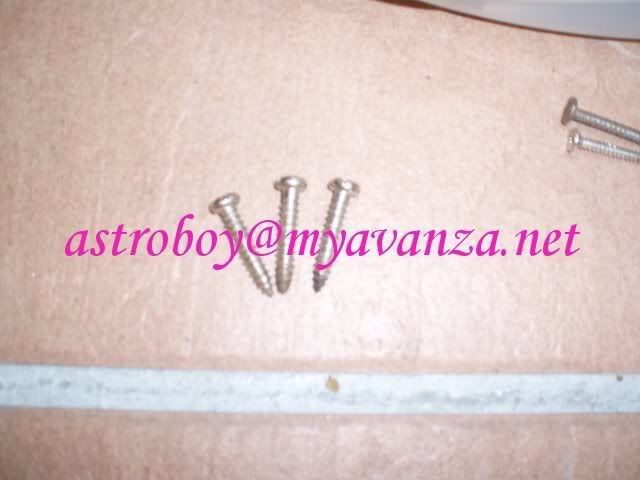
Only three short screws.. we will use back the 3 holes for our MB Q..


Check out the original wire connector and remember the color coding. The one with black stripes is negative. We need to later hunt for the source to tap the input signal to power the crossover. Right speaker using red wire while the left speaker using light green wire. DO NOT TAP THE WRONG WIRE! Red can be LIVE!!


Limited space on the side panel. This side, I hide the crossover inside the panel..


This is it.. I use the trim provided by the speaker set to as a lift for the speaker.


This is why.. notice how close is the window when wind down.. if I don't raise the speaker, no chance to avoid the window..


Here is another closer look..


This is the speaker enclosure that needs to be trim. Otherwise, it will hit the lifted speaker...


This the trim-ed piece..


Notice the metal on the side kick board. When we remove the panel, the metal clips will stay in the chassis. Need to pull them (2 nos) out and slot them back into the panel before reinstalling the panel.


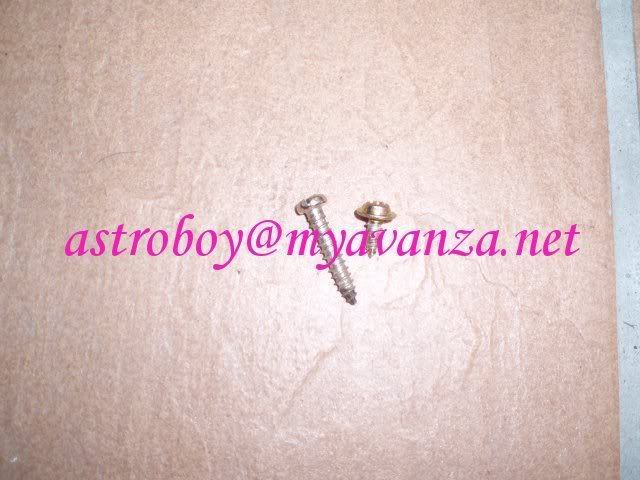
This the screw I used to secure the woofers.. Its fat and long..


This is the comaprison of MY screw against the OEM woofer screw. Notice how short are theirs.. :P


A peep at the tweeter installation. I fabricated a piece of metal (an inch wide, 5 inches long).. from tin can, screw it onto the back of the tweeter, bend the metal and hand it on the pillar column.


Finally, the signature.. ;D


Some experience to share:

1. Be careful with screwing the speaker. If the screw driver slips, can punture the speaker diaphram, how I know? EXPERIENCE !!

The MB Q set kind of reproduce every sound detail with extra clarity, so much so when listening to radio, the interference noise also very clear now, thanks to the crossover.. :-/ Now listening to radio no longer interesting but when listen to CD, I can hear extra intrument sound that was not hear before using the OEM set. Love IT!

And not to worry about the bigger magnet. As long as your volume level is below 50 (display in HU) the sound is tight and solid. When the volume goes over 50, the insufficient output of the HU start to loss clarity and sound start to break up. That's the line OEM HU can push, after which, its recommended to add amplifier if you want the sound to remain solid.. My next set is the Premium series that has a higher rating (60W) and I want to see the OEM HU can push or not. Will install it in my rear doors.

Question?.. ;D