Sunday, 6 May 2007

DIY Foot Well Light ( Part 1)

Finally got time to install my long overdue foot light at the driver seat side... ;D

Hopefully every photo is self-explanatory.. ;D

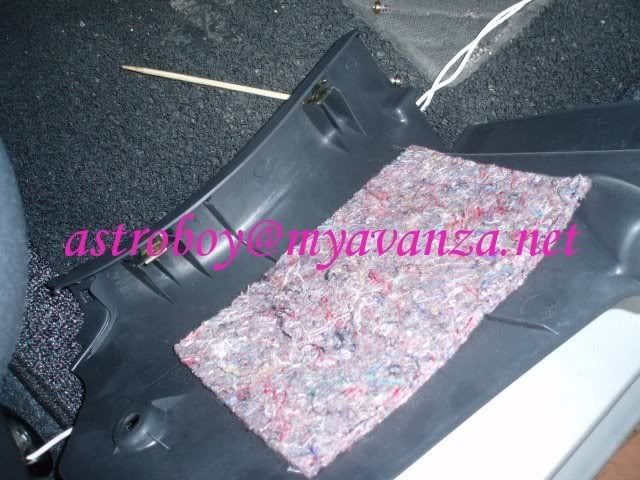
Lower dashboard cover. Check out the OEM cotton insulation.. ;D

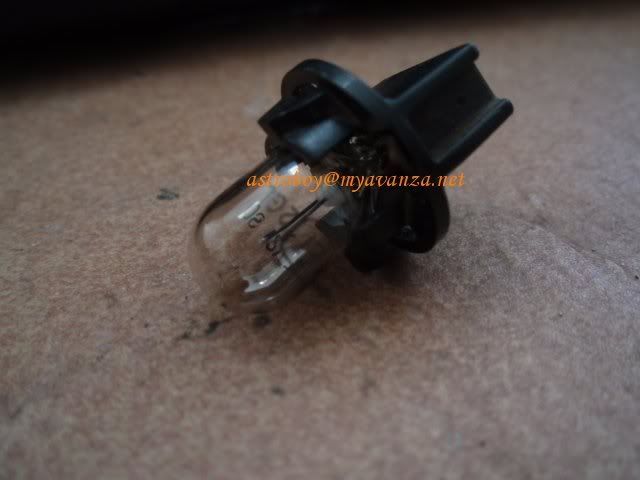
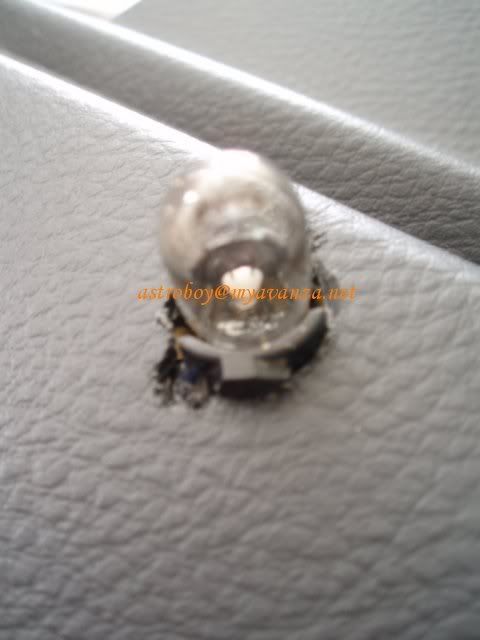
This is the main ingredient.. ;D

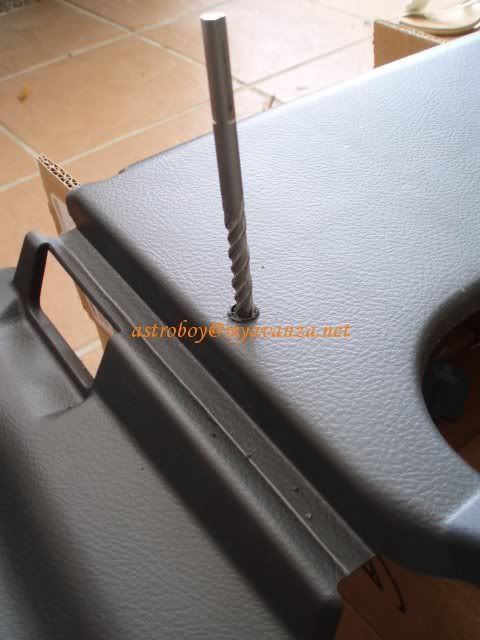
First drill..

Second drill.. to make it bigger..
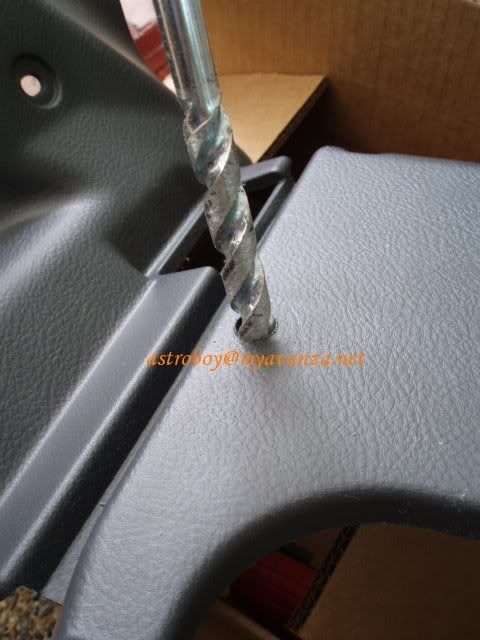

Nice and easy does it...
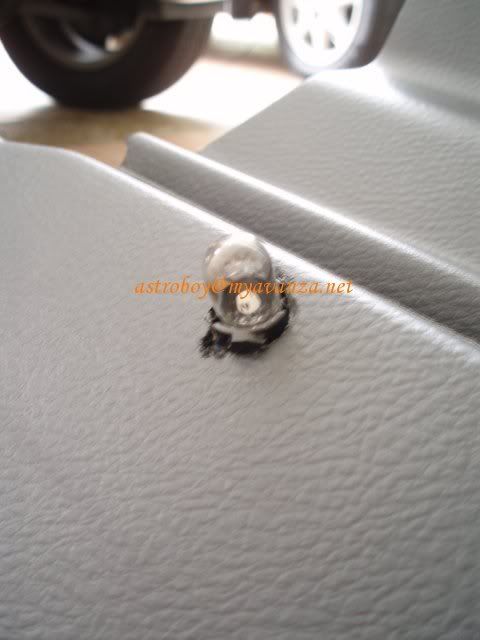

Close up..

Black is earth and it goes directly up the windscreen pillar, then under the roof sarong and to the room light, connect to the -ve plate as the main trigger for the foot light.. check out next 2 photo.
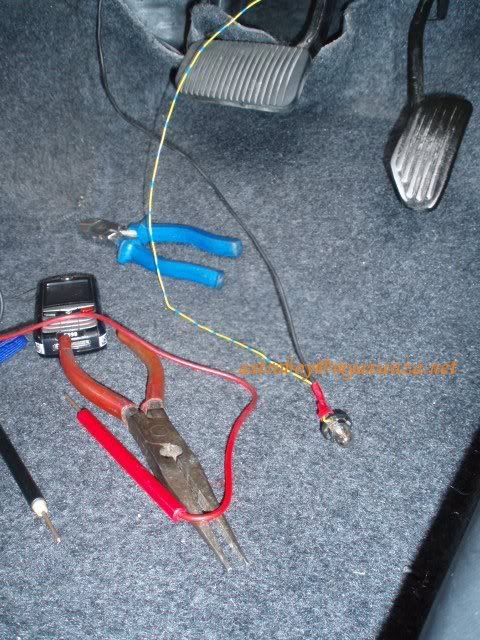

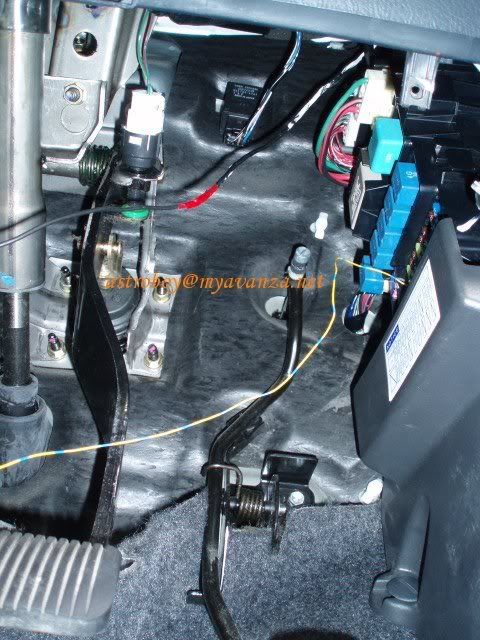
See the black cable going up the windsceen pillar and live (blue/yellow) cable going to the fuse box to tap from the hazard fuse. I CAN'T find the room light fuse :-/ . I unplug every fuse in the fuse box and to my surprise, the room light still lited!!! How dangerous can that be!!! :o OUR CABIN LIGHT HAS NO FUSE !!!

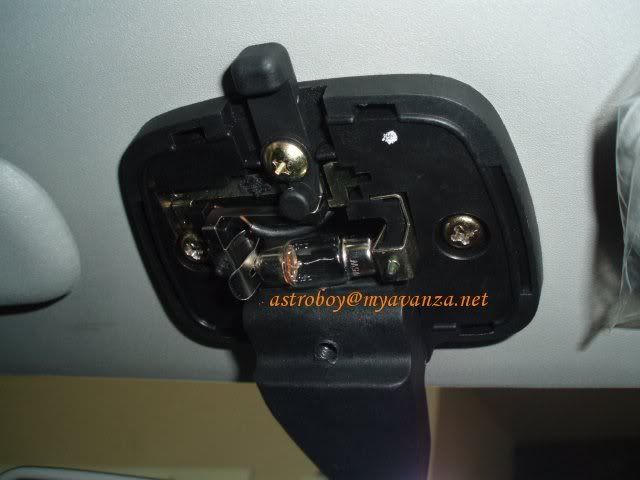
This is how the black earth -VE trigger cable is connected. The right side is actually un-fuse-ed LIVE!! I am just tapping the -VE signal.. One problem here. When other ppl remove my rear view mirror, they sure can't connect the cable.. :-[ I should have solder the wire properly and install a connector. But my tool box only have limited things.. :-/

DONE!
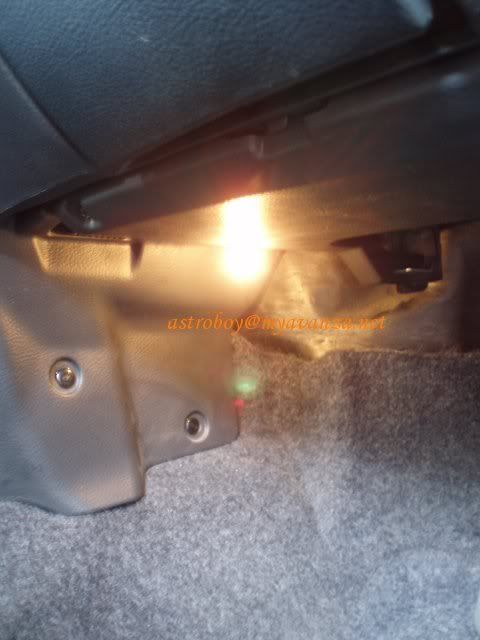

Wider view..
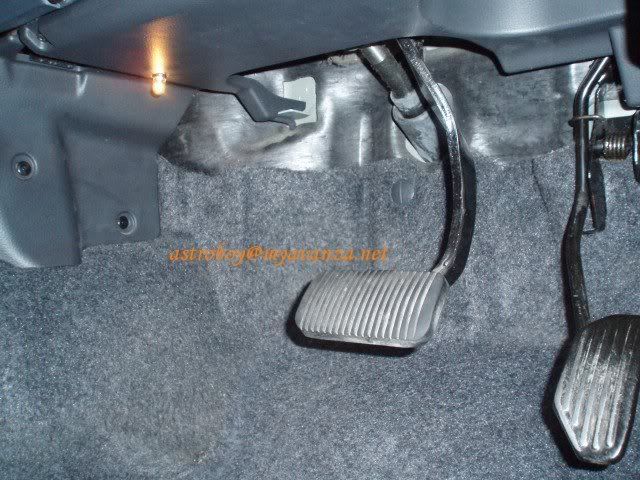

One thing though, my foot light gets very HOT after lited for a while. Potential recipe for fire hazard. Using LED is safer. Please take note.. ;)

Warning.. this is a pretty high risk DIY for 4 reasons:

1. one of the terminal in the room light is constant-ON LIVE and un-fused. Accidently touching it with an earth cable will melt the earth cable and may cause fire.

2. our foot light has one constant-ON LIVE connection too, make sure you tap the right end of the Hazard fuse, its after the fuse, not before the fuse which the fuse will not be able to protect..!

3. The bulb fixture I used is very difficult to secure the wire connection. So if the LIVE is loose, its dangling end may touch the surrounding earth and causes sparks, then potential fire hazard! Plenty of cotton inside, refer 1st photo.. :-/

4. When we send vehicle for servicing, the foreman are not aware that we have such DIY, if he pulls the rear view mirror off or the upper foot panel off without unpluging our DIY, may potentially damage the cables and cause fire due to the live wire! not one but both end!

PLEASE TAKE NOTE!

Aiyaa, all DIY has certain risk la.. its just that I felt this one is a bit greater. Unless you isolate the foot light from the room light but to me, then it defeat its purpose.. :-/ Its suppose to lit when we open the door, or switch on the room light, before inserting the key. Just like our room light.

Sunday, 29 April 2007

Avanza: Speakers Upgrade Part 1

Okay.. latest update:

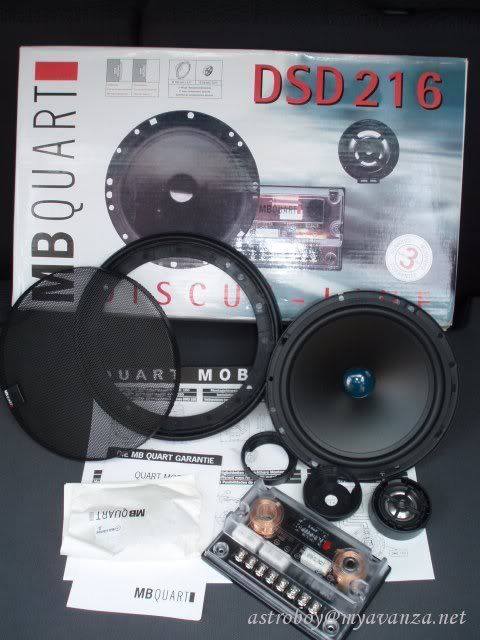
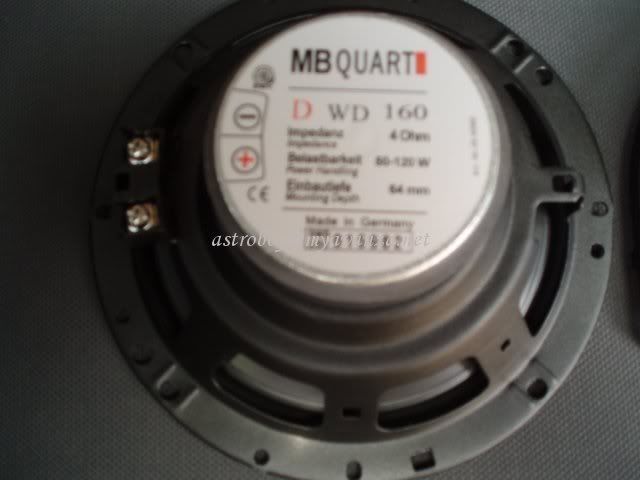
This is the MB Q set. What u see here is one side only.. ;D The other side I pasang oredi.. ;D The tweeter comes with 2 sets of mounting piece. One flat, one tilt but I didn't use either. Mine is own fabricated.. ;D Its a pitty that no speaker wire is supplied.. :-[


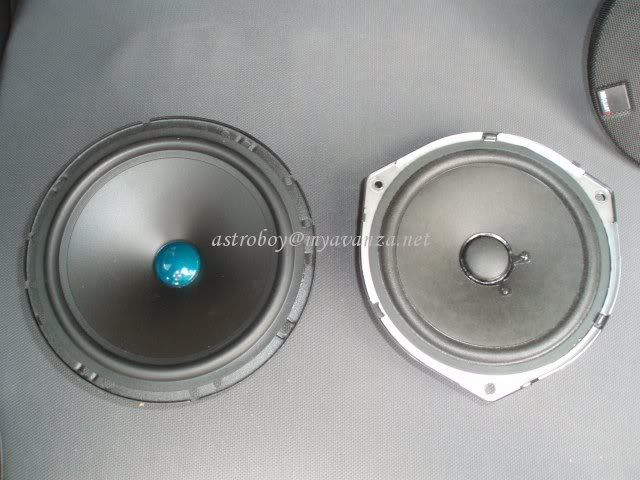
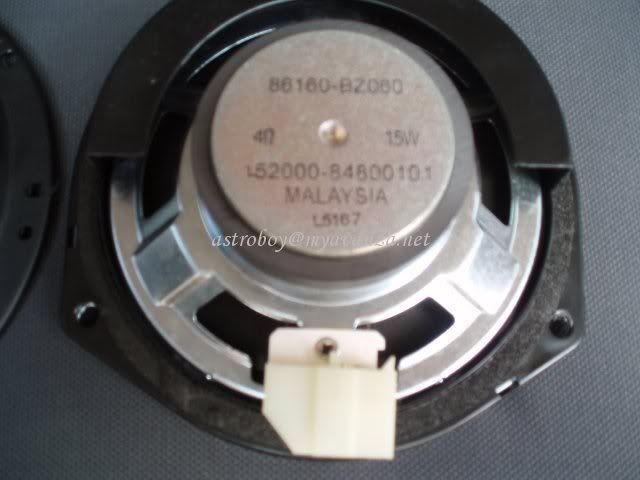
Check out the differences.. OEM diaphram is paper based and is vulnerable to the dampness in the door panel, while the MB Q is water resistance material.


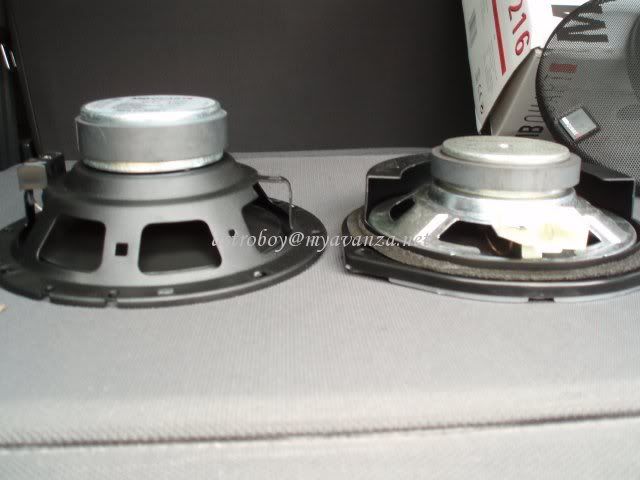
MB Q is about 3/4 inch thicker due to the bigger magnet..


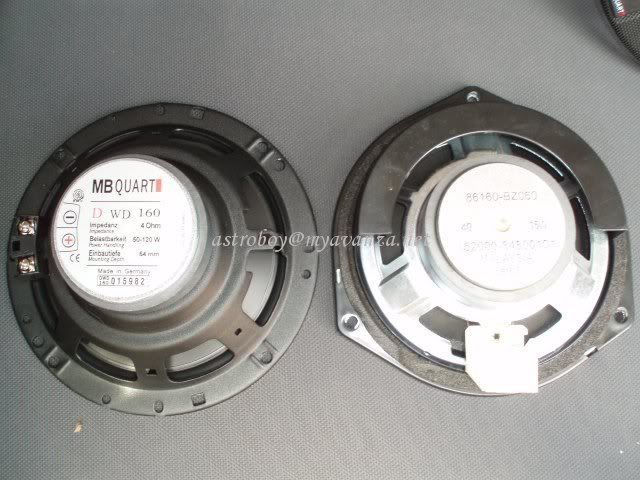
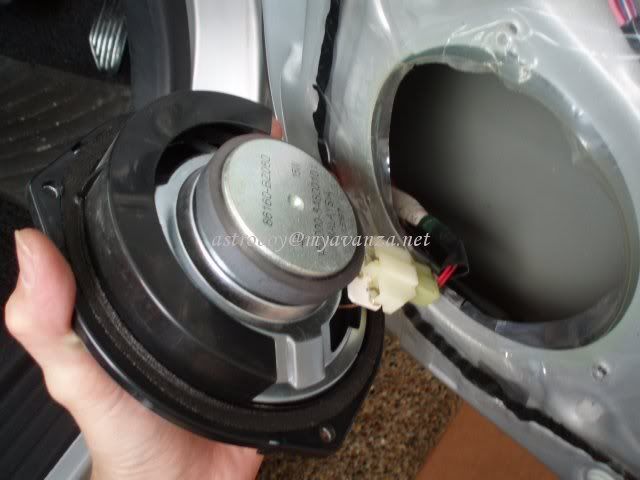
The OEM speaker has a plastic cover to prevent water to get in from the top to protect the paper cone.. notice the connector lain..


MB Q crossover...


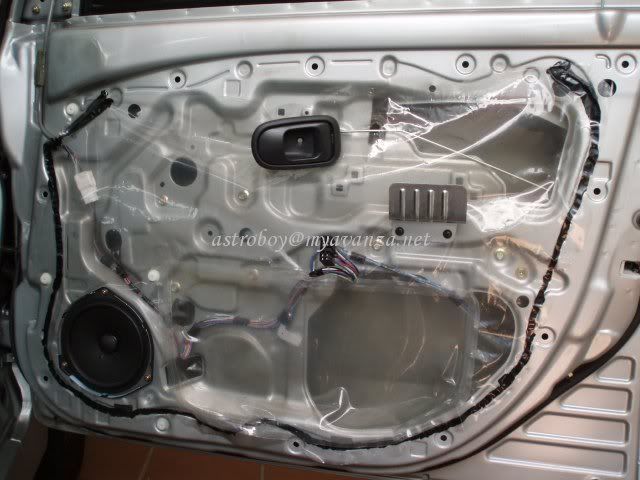
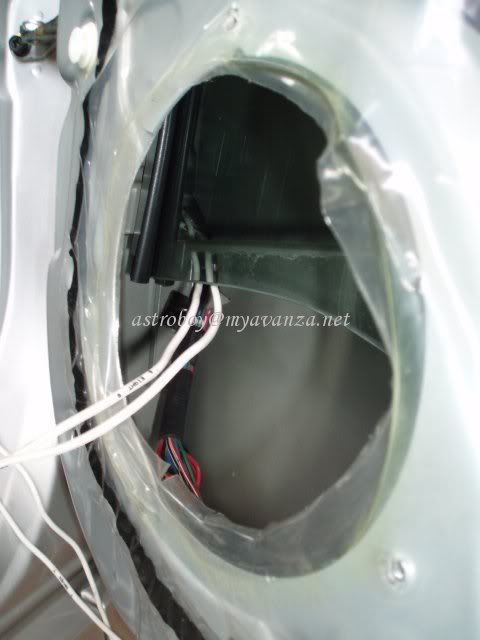
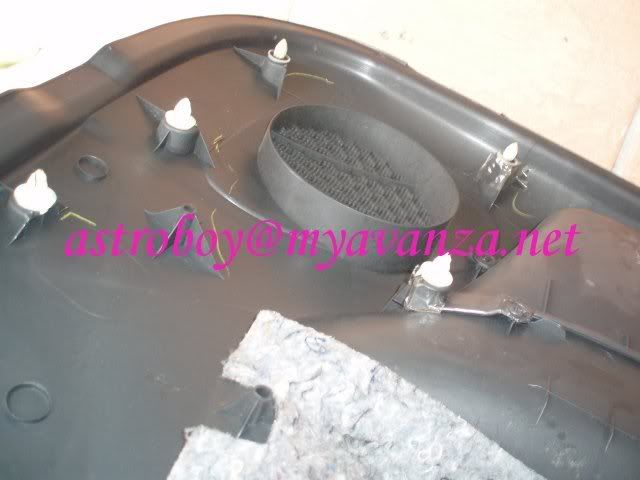
After the panel pulled out, few plugs still stuck on the door panel.. when removing the panel, have to firstly remove 2 screws. One on the arm rest and one on the door "opener". Then need to screw off the door-lock pin. Lift the lower part open and the stuts will realese one by one. Then lift the panel up because top part is kind of hang on to the top door section. Pay attention to another plastic screw-type fastener near the triangle side mirror base panel. Pull it off together with the door panel. Those stuts that still stuck on the panel needs to be pull off and pt back onto the door panel before installation..


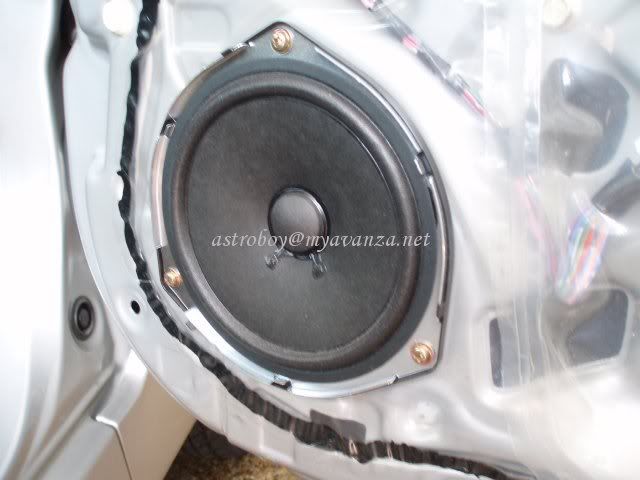
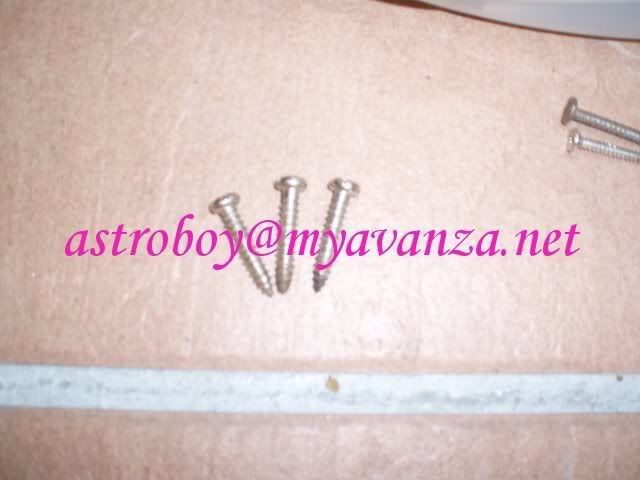
Only three short screws.. we will use back the 3 holes for our MB Q..


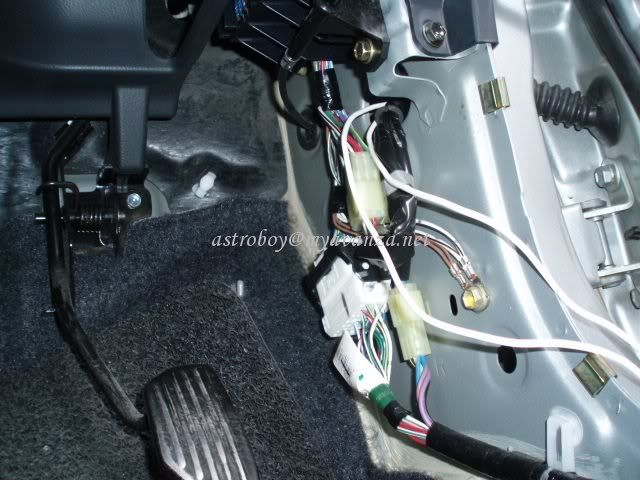
Check out the original wire connector and remember the color coding. The one with black stripes is negative. We need to later hunt for the source to tap the input signal to power the crossover. Right speaker using red wire while the left speaker using light green wire. DO NOT TAP THE WRONG WIRE! Red can be LIVE!!


Limited space on the side panel. This side, I hide the crossover inside the panel..


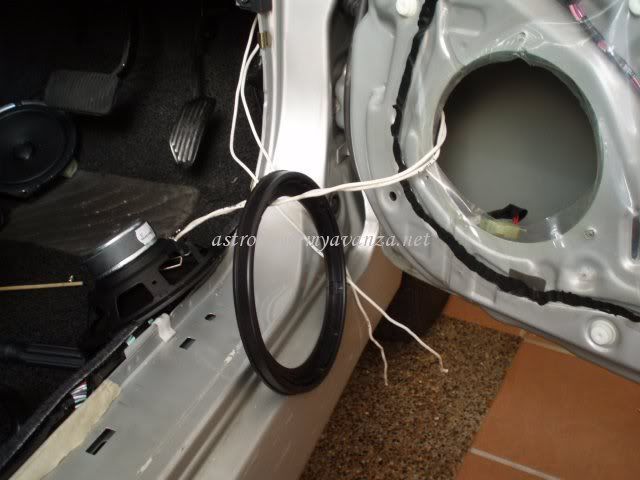
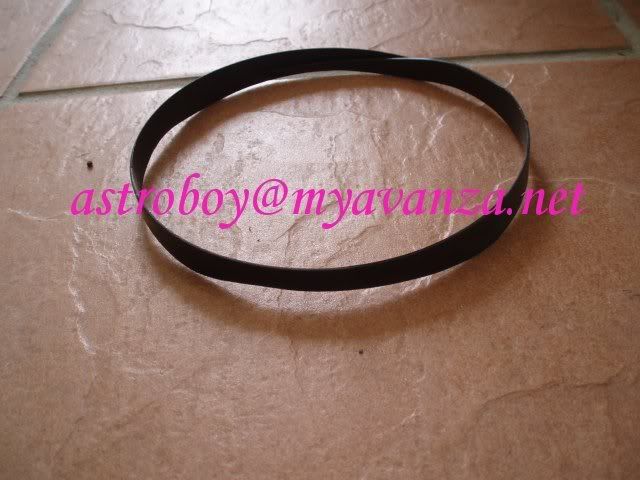
This is it.. I use the trim provided by the speaker set to as a lift for the speaker.


This is why.. notice how close is the window when wind down.. if I don't raise the speaker, no chance to avoid the window..


Here is another closer look..


This is the speaker enclosure that needs to be trim. Otherwise, it will hit the lifted speaker...


This the trim-ed piece..


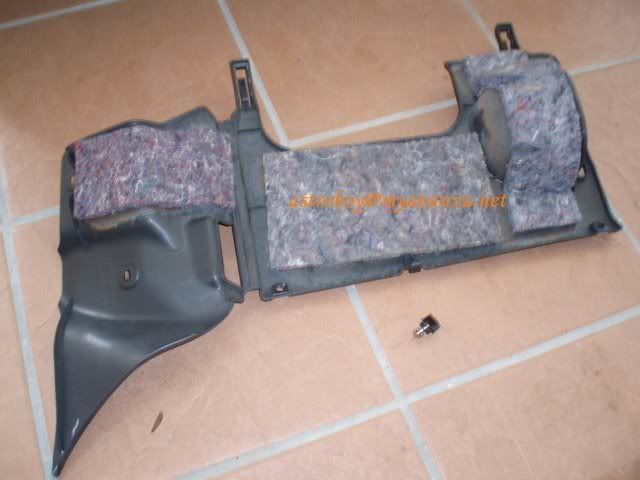
Notice the metal on the side kick board. When we remove the panel, the metal clips will stay in the chassis. Need to pull them (2 nos) out and slot them back into the panel before reinstalling the panel.


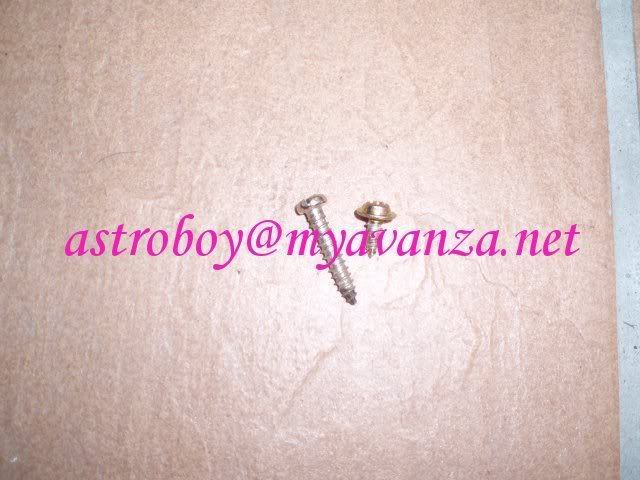
This the screw I used to secure the woofers.. Its fat and long..


This is the comaprison of MY screw against the OEM woofer screw. Notice how short are theirs.. :P


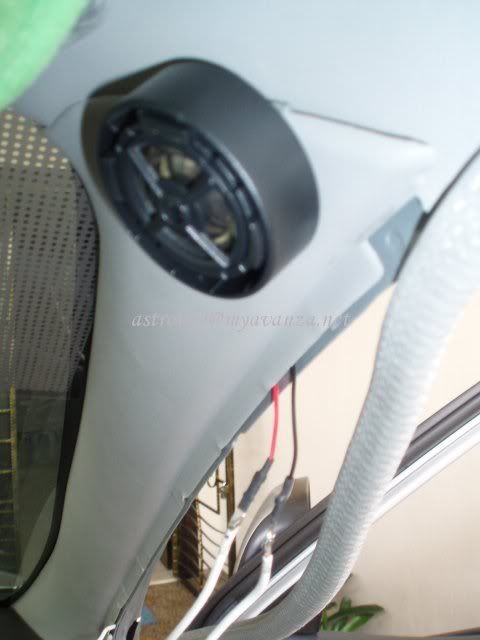
A peep at the tweeter installation. I fabricated a piece of metal (an inch wide, 5 inches long).. from tin can, screw it onto the back of the tweeter, bend the metal and hand it on the pillar column.


Finally, the signature.. ;D


Some experience to share:

1. Be careful with screwing the speaker. If the screw driver slips, can punture the speaker diaphram, how I know? EXPERIENCE !!

The MB Q set kind of reproduce every sound detail with extra clarity, so much so when listening to radio, the interference noise also very clear now, thanks to the crossover.. :-/ Now listening to radio no longer interesting but when listen to CD, I can hear extra intrument sound that was not hear before using the OEM set. Love IT!

And not to worry about the bigger magnet. As long as your volume level is below 50 (display in HU) the sound is tight and solid. When the volume goes over 50, the insufficient output of the HU start to loss clarity and sound start to break up. That's the line OEM HU can push, after which, its recommended to add amplifier if you want the sound to remain solid.. My next set is the Premium series that has a higher rating (60W) and I want to see the OEM HU can push or not. Will install it in my rear doors.

Question?.. ;D