DIY Disclaimer: I hold no responsibility should anything goes wrong when you decided to follow my guide. It’s strictly meant as a reference for knowledge sharing purposes.
2007 BMW E90 N46B20
Mileage: 70k km


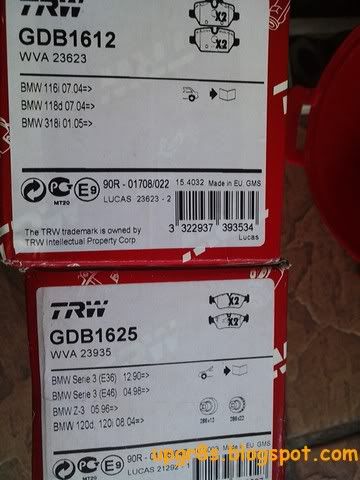
OBC says 410km to go and it’s in yellow warning display. Bought the lining few months back standing by for this change. GDB1612 (Rear), GDB1625 (Front).
When I open the box, surprised to see the metal guides and 2 pcs replacement screw included. How thoughtful..

Steps to replace the brake lining:
1) Find a level spot on your porch, engage parking brake and get a stopper (I use a brick) to secure the opposite front wheel before we jack up the rear, to prevent the car from rolling, just in case.
2) Loose the 5 wheel lugs and jack up the rear. I start with right rear where the brake sensor is. Just in case it takes longer than necessary to replace the sensor.
3) Remove the wheel and slot it under the car as additional “insurance” just in case the jack slipped. ![]()
4) The brake caliper design is different from the front, which uses a 7mm Allen key to open the caliper housing which the rear us using a size 13mm wrench. A size 15mm wrench is needed to stop the internal guiding bolt from rotating. There are 2 such size 13mm bolt to remove, upper and lower, to secure the caliper.

5) Carefully remove the sensor cable, can unplug after or before remove removing the caliper. Your preference.

6) This is how I push the caliper piston back into the chamber. Monitor the brake fluid reservoir for overflow when this is carried out because the returning of the caliper piston is forcing the level of the brake fluid reservoir to raise.

7) Replace the metal guides (supplied together in the new brake lining)
Bottom guide:

Note: Check out the support I use to rest the caliper at the bottom right of the above photo.. LOL! ![]()
Upper guide:


Note: Check out the new black bolts, the grey ones are the used bolts. They all are applied with tread lock compound. Funny thing is how come only 2 new screws are supplied? Is it I’m not supposed to open all 4 bolts? (2 each side) ![]() Maybe just open the bottom screw is suffice and flip the caliper up..
Maybe just open the bottom screw is suffice and flip the caliper up.. ![]()
8) Slot in the new lining


9) Replace the sensor cable.. I was trying to reuse the old sensor cable but I notice some crack lines over it.. so I replace it. Need to open the rear portion of the wheel house shield because the the brake sensor connector is hidden behind it.. Be careful not to bend any of the pin inside the connector. There’s a guide in the connector to prevent the connector from wrongly plugged. Align the guide carefully.

New versus old:

DONE! Check out the brand on the caliper, it’s made by TRW.. ![]()

Thank you for reading, comments are welcome! ![]()
Update:
Just found this
BMW TIS - 34 21 200 Removing and installing/replacing brake linings on both rear disk brakes (TRW floating caliper)
http://tis.spaghetticoder.org/s/view.pl?1/09/80/63


So according to the guide, only the bottom bolt needs to be opened and replaced, and tilt the brake caliper upwards for lining replacement job. Now I know lor.. hehe! ![]()
do you have a guide on the sump gasket replacement?
ReplyDeleteOil sump gasket job needs to drop the entire front subframe. Best use a proper workshop hoist and let the workshop handles it.
ReplyDeleteThis comment has been removed by a blog administrator.
ReplyDeleteThis is most informative and also this posts most user-friendly and super navigation to all posts. Thank you so much for giving this information to me.
ReplyDeleteBrake lining supplier